



Table of Contents
How to Make Authentic Bisibele Bath From Scratch
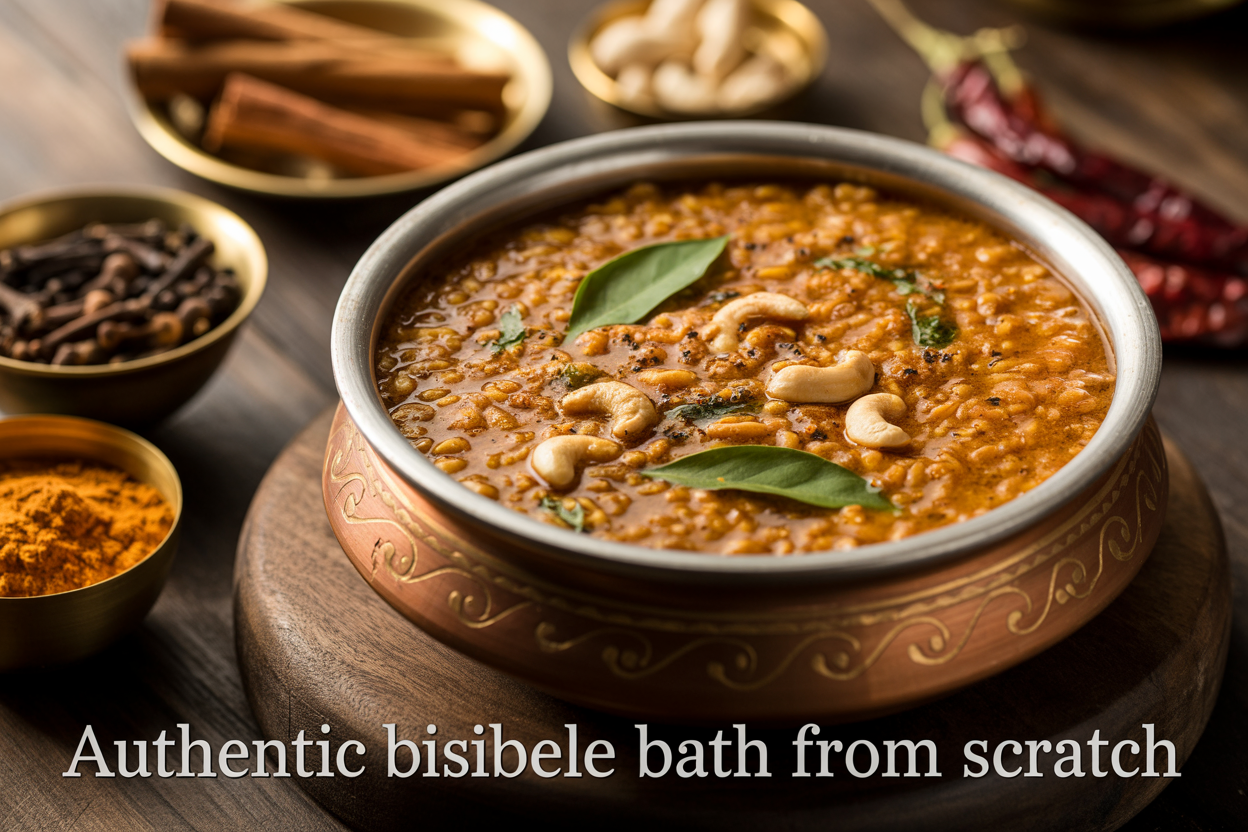
If you’ve ever eaten bisibele bath at a Karnataka home or a no-frills South Indian restaurant and thought, “I need to figure out how to make this,” — you’re in the right place.
This guide is for home cooks who want to go beyond the shortcut spice packet and make a truly traditional Karnataka bisibele bath the way it’s meant to taste. That means real depth, real flavor, and no compromises.
Here’s what you’ll walk away knowing:
- What actually makes bisibele bath authentic — and why the homemade bisibele bath powder is the heart of the whole dish
- Every bisibele bath ingredient you need, from the right lentils to the tamarind and vegetables that build the base
- A clear, bisibele bath step by step cooking process so nothing gets overcooked, under-seasoned, or rushed
This isn’t a complicated recipe once you break it down into parts. It just needs a little time, the right spice mix, and a willingness to do it properly. Let’s get into it.
Understanding What Makes Bisibele Bath Authentic
Origins and Cultural Significance of the Dish
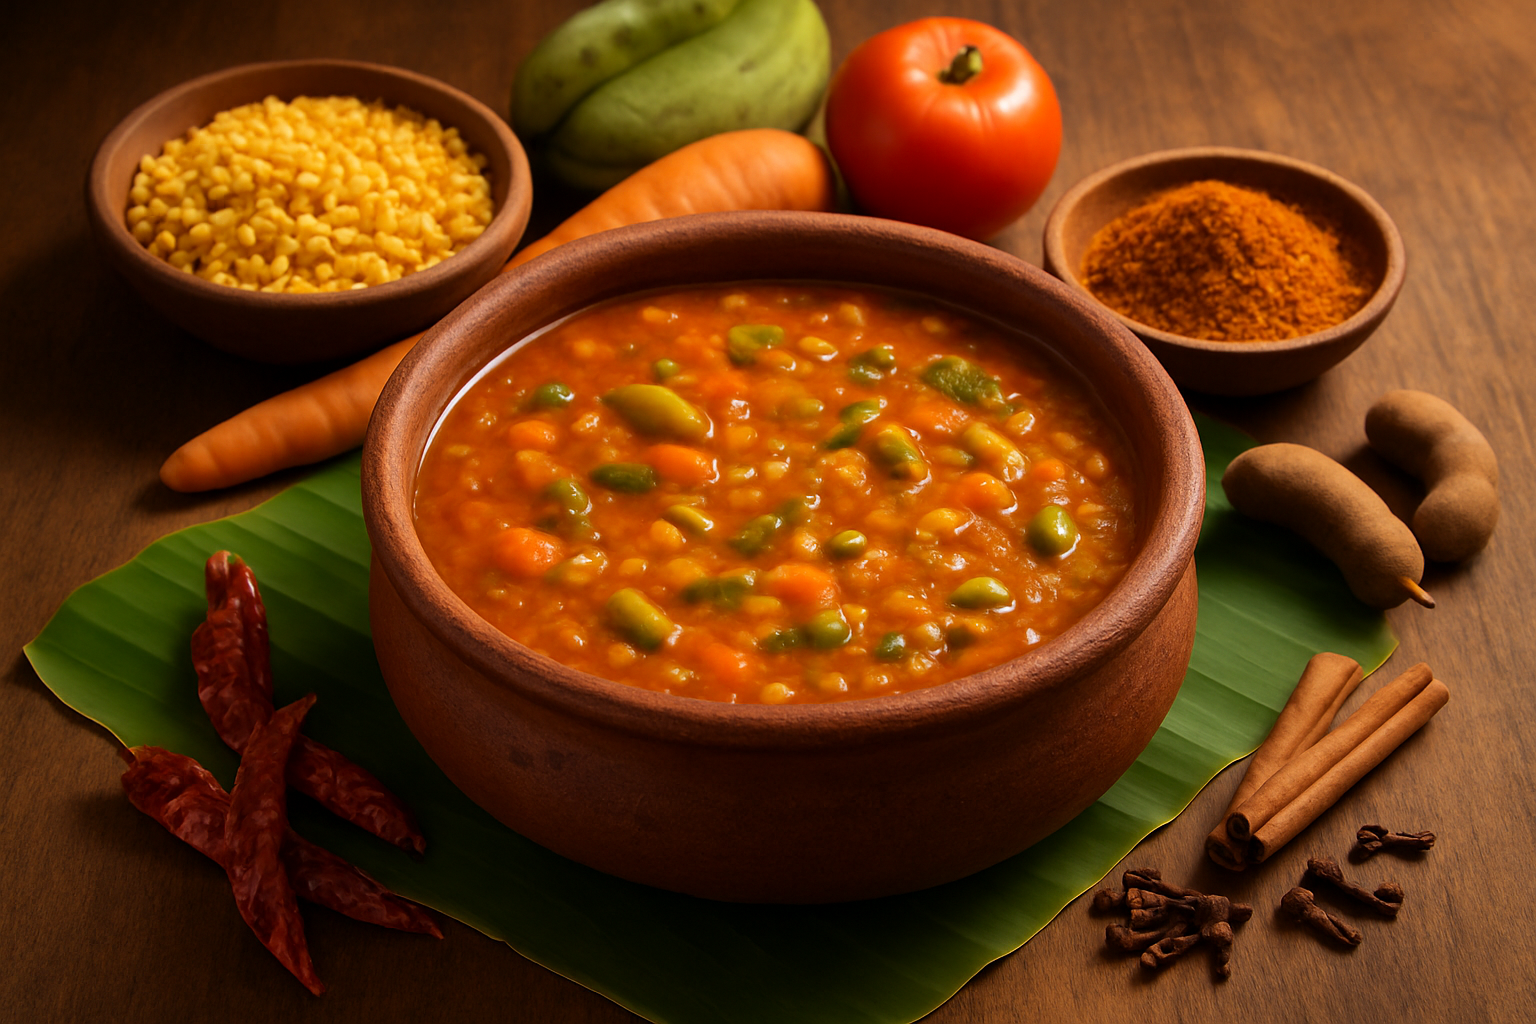
Bisibele bath is one of those dishes that carries an entire culture within a single pot. Born in the royal kitchens of the Mysore Wadiyar dynasty in Karnataka, South India, this dish has been feeding families for centuries. The name itself tells you everything — “bisi” means hot, “bele” means lentils, and “bath” means rice dish. So at its core, you are looking at a hot, lentil-rice preparation that was designed to be a complete, nourishing meal.
The dish holds a deeply personal place in Kannada households. It shows up at temple feasts called sattvik bhojanam, Sunday family lunches, and special occasions like festivals and weddings. In Karnataka, bisibele bath is not just food — it is a feeling. Many people associate it with their grandmother’s kitchen, the smell of ghee hitting a hot pan, and the sound of mustard seeds popping in the background.
What makes this dish particularly special in South Indian culinary tradition is how it balances nutrition and taste without even trying. Rice, toor dal, vegetables, and a hand-ground spice powder come together to create something far greater than the sum of its parts. It is a one-pot meal that sustained farmers, fed temple devotees, and satisfied royalty — all at the same time.
Key cultural markers of traditional bisibele bath:
- Temple origins: The dish was historically prepared as prasadam (sacred food offering) in Udupi and Mysore temples
- Festival staple: Served during Ugadi, Sankranti, and other Kannada festivals
- Royal lineage: Credited to the Mysore Wadiyar court as a refined, elaborate preparation
- Regional pride: Considered Karnataka’s answer to khichdi, but far more complex and layered
Key Flavor Profile and Texture to Aim For
Getting the flavor and texture right is what separates a good bisibele bath from a truly authentic bisibele bath recipe. This dish should hit multiple notes at once — spicy, tangy, savory, and slightly sweet — all balanced beautifully by the richness of ghee.
Here is what the ideal bisibele bath tastes and feels like:
| Element | What to Aim For |
|---|---|
| Texture | Thick, porridge-like consistency — not too dry, not watery |
| Heat | Warmth from dried red chilies and black pepper, not sharp or overwhelming |
| Tang | A gentle sourness from tamarind that cuts through the richness |
| Sweetness | A mild background sweetness from jaggery and cooked onions |
| Aroma | Deep, roasted spice aroma from the fresh bisibele bath powder |
| Richness | A generous finish of ghee that coats every grain and lentil |
The texture is something that trips people up the most. Authentic bisibele bath should fall somewhere between a thick dal and a soft khichdi. When you scoop it with a ladle, it should hold its shape for a moment before slowly spreading. If your spoon stands upright in the pot, it is too thick. If the dish looks like soup, it needs more time on the stove.
The spice profile is deep and layered, which only happens when you make your bisibele bath spice mix at home. The powder includes ingredients like coriander seeds, chana dal, urad dal, dried coconut, marathi mokku (dried flower pods), and stone flower — ingredients that give the dish an earthy, almost smoky depth you simply cannot get from a store-bought packet.
The tamarind tang should be noticeable but never sharp. Think of it as the background singer — you hear it and appreciate it, but it does not steal the spotlight from the spices.
How Homemade Differs from Restaurant Versions
Most people who grew up eating bisibele bath at a restaurant have tasted a perfectly acceptable version of the dish. But once you try the traditional Karnataka bisibele bath made from scratch at home, you realize you have been missing out on a completely different experience.
The biggest differences come down to these factors:
1. The Spice Powder
Restaurants and commercial kitchens almost always use pre-made bisibele bath powder bought in bulk. These powders are consistent, shelf-stable, and convenient — but they are dull. When you make your homemade bisibele bath powder fresh and roast each spice individually before grinding, the aroma is incredible. The oils are still alive in the spices, and that shows in the final dish.
2. The Ghee
Homemade bisibele bath is generous with ghee at every stage — in the cooking and again at the end as a finishing drizzle. Many restaurants cut back on ghee to manage costs, which means the dish loses that silky, indulgent richness it is supposed to have.
3. The Dal-to-Rice Ratio
Restaurant versions tend to be rice-heavy because rice is cheaper than toor dal. In a home kitchen, you have the freedom to use equal parts rice and dal, which gives the dish a much creamier, more protein-rich consistency.
4. The Vegetable Selection
Many commercial versions stick to just one or two vegetables — usually potato and carrot. At home, you can load up on bisibele bath ingredients like raw banana, drumstick (moringa pods), pearl onions, peas, and French beans, which add layers of texture and flavor.
5. Tamarind Quality
Restaurants often use tamarind paste from a jar, which gives a flat, one-note sourness. When you use a ball of fresh tamarind soaked and strained at home, the tang is more complex and balanced.
Quick Comparison Table:
| Feature | Homemade | Restaurant |
|---|---|---|
| Spice powder | Fresh, hand-ground | Store-bought, pre-packaged |
| Ghee quantity | Generous, layered | Minimal |
| Dal ratio | Equal to rice | Less than rice |
| Vegetables | Wide variety | 1-2 types |
| Tamarind | Fresh, soaked from block | Packaged paste |
| Flavor depth | Complex, layered | Mild, one-dimensional |
| Aroma | Rich, roasted | Flat, uniform |
The beauty of making bisibele bath from scratch at home is that you are in full control. You decide how spicy, how tangy, how rich, and how thick you want the dish to be. That kind of control is something no restaurant can give you.
Essential Ingredients You Need to Gather
Choosing the Right Rice and Lentils
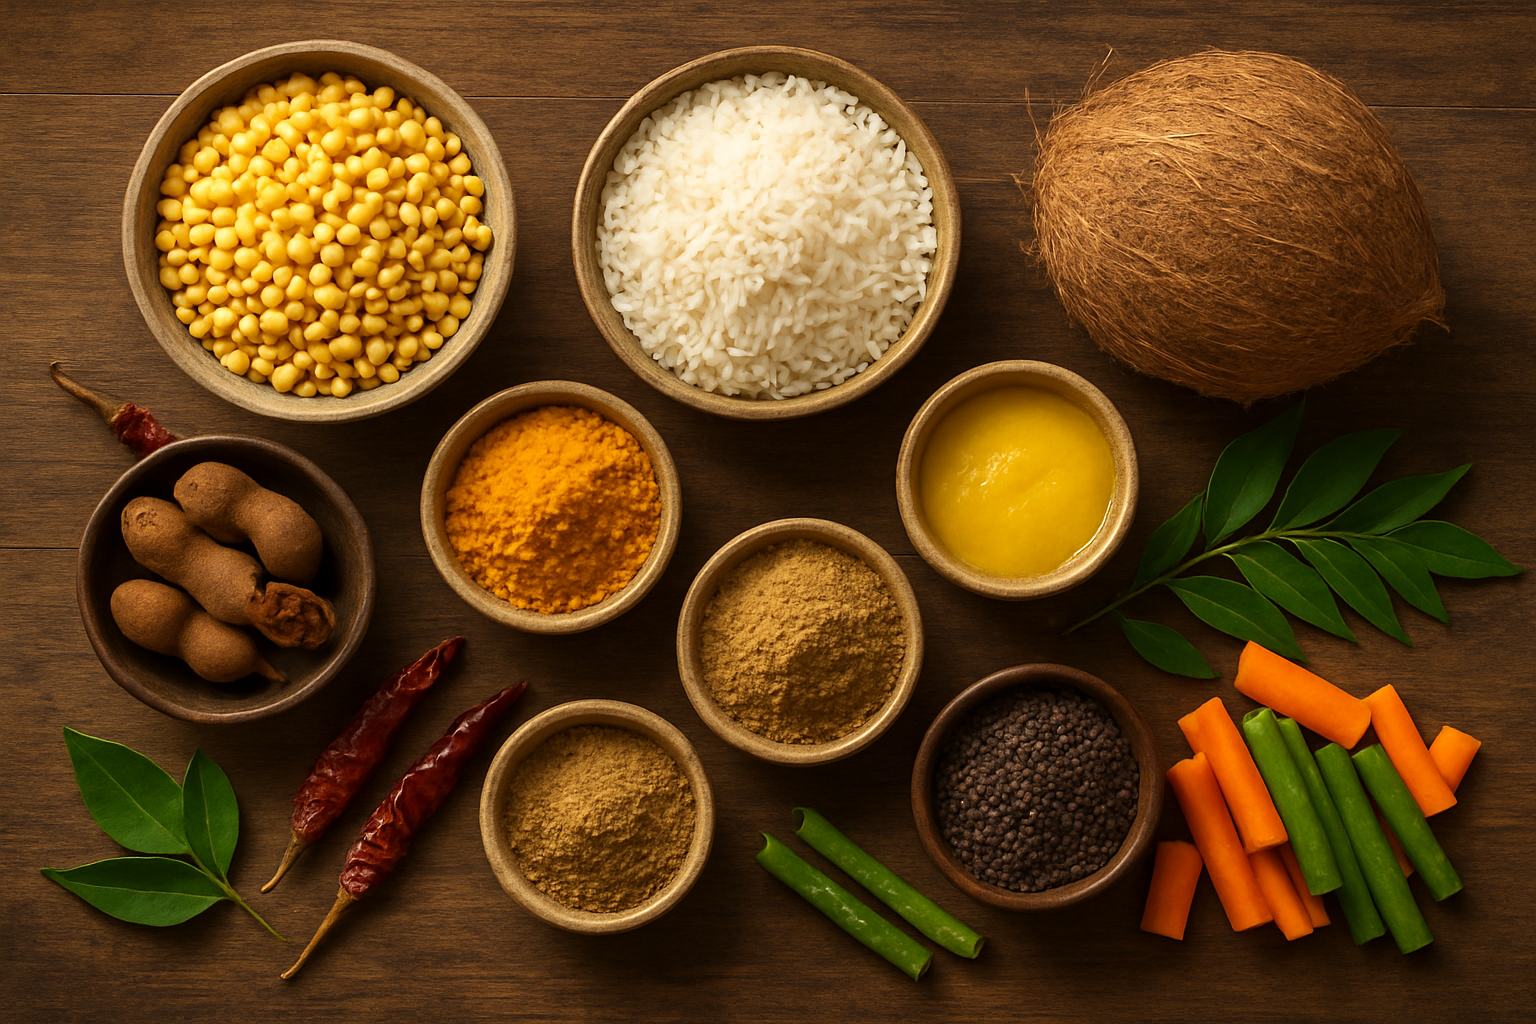
The foundation of any authentic bisibele bath recipe starts with getting your rice and lentils right. This isn’t a dish where you can swap ingredients randomly and expect the same results.
Rice: Go with short-grain sona masoori rice. It’s the traditional choice in Karnataka homes and absorbs the spiced lentil base beautifully without turning mushy. Some families use regular raw rice, but sona masoori gives you that slightly sticky, cohesive texture that makes bisibele bath so satisfying to eat. Avoid basmati here — the long-grain variety stays too separate and just doesn’t give you the creamy, porridge-like consistency this dish needs.
Lentils: Toor dal (split pigeon peas) is non-negotiable. It cooks down to a smooth, thick consistency that binds the entire dish together. The ratio matters too:
| Ingredient | Quantity (for 4 servings) | Notes |
|---|---|---|
| Sona masoori rice | 1 cup | Washed and soaked for 20 minutes |
| Toor dal | ½ cup | Rinsed well |
The rice-to-dal ratio of 2:1 is the classic approach, though some households prefer equal parts for a richer, dal-forward version. Experiment once you get the basic recipe down.
Fresh Vegetables That Add Depth and Nutrition
One thing that separates a great bisibele bath from a mediocre one is the vegetable selection. This isn’t just a rice and lentil dish — the vegetables are what make it a complete, nourishing meal.
The Classics You Should Always Include:
- Drumstick (moringa): Adds an earthy, slightly bitter flavor that’s completely irreplaceable. If you’re making traditional Karnataka bisibele bath, don’t skip this.
- Small pearl onions (sambar onions): These are sweeter and more aromatic than regular onions. They hold their shape during cooking and add little bursts of flavor.
- Tomatoes: Add natural acidity and help balance the tamarind.
- Carrots: Bring sweetness and a nice pop of color.
- Green beans (French beans): Give a slight crunch that contrasts the soft rice-lentil base.
- Potatoes: Optional but beloved — they soak up the spiced broth and become incredibly flavorful.
- Peas: Fresh or frozen, they add sweetness and color.
- Eggplant (brinjal): Small varieties work best; they melt into the dish and add body.
Vegetables to Avoid:
Leafy greens like spinach don’t work well here — they wilt too much and change the flavor profile in ways that feel out of place. Beets will bleed color into everything. Stick to firm vegetables that can hold up to the long cooking time.
How to Prep Them:
Cut everything into similar-sized pieces — roughly 1-inch chunks. This ensures even cooking. Since bisibele bath cooks everything together, you want the vegetables soft but not completely disintegrated.
Tamarind and Jaggery for the Perfect Tangy-Sweet Balance
This is where bisibele bath gets its signature personality. The interplay between tamarind’s sourness and jaggery’s gentle sweetness is what gives the dish its depth and complexity. Get this balance wrong and the dish falls flat.
Tamarind:
Always use a block of raw tamarind rather than the ready-made paste from a jar. The block variety has a more complex, fruity sourness that processed paste just can’t replicate. Here’s how to work with it:
- Take a golf ball-sized piece of tamarind (roughly 30–40 grams).
- Soak it in 1 cup of warm water for 20–30 minutes.
- Squeeze and strain it through your fingers or a strainer to extract a thick, pulpy liquid.
- Discard the seeds and fiber.
The resulting tamarind water should have a deep, dark color and a sharp sour smell. This is your flavor base.
Jaggery:
Use block jaggery (the unrefined cane sugar variety) rather than refined sugar. Jaggery has a caramel-like, slightly molasses-forward sweetness that pairs beautifully with tamarind. Start with about 1–2 tablespoons of grated jaggery and adjust based on how sour your tamarind is. The goal is to mellow the sourness, not to make the dish sweet.
| Ingredient | Amount | Role in the Dish |
|---|---|---|
| Raw tamarind block | 30–40g (soaked) | Provides tanginess and depth |
| Block jaggery | 1–2 tbsp (grated) | Balances sourness, adds subtle sweetness |
The balance between these two should feel like a gentle push and pull — neither flavor completely dominates. If your bisibele bath tastes too sour, add a little more jaggery. Too sweet? Add a small splash of tamarind water.
Ghee and Whole Spices for Richness
Ghee is the soul of bisibele bath. It’s not just a cooking fat here — it plays a starring role in the final tempering (tadka) that gets poured over the dish right before serving. That sizzling spoonful of ghee with mustard seeds, curry leaves, and dried chilies is what transforms a good bisibele bath into an unforgettable one.
Why Ghee Specifically:
Butter or oil won’t give you the same result. Ghee has a nutty, rich aroma when heated and carries fat-soluble spice compounds in a way that lighter oils simply don’t. Use high-quality, homemade ghee if you can get your hands on it — the difference in flavor is noticeable.
Whole Spices You Need:
- Mustard seeds: The essential starting point for the tempering. They should pop and crackle in the hot ghee before anything else goes in.
- Dried red chilies: 2–3 whole ones add heat and smokiness.
- Curry leaves: A generous sprig — don’t hold back. They release incredible fragrance when they hit the hot ghee.
- Asafoetida (hing): Just a pinch. It adds a pungent, savory depth that’s hard to describe but easy to miss when it’s absent.
- Cashews: Not a spice, but they go into the tempering and add a rich, buttery crunch that’s classic in bisibele bath.
Quantity Guide:
| Ingredient | Amount |
|---|---|
| Ghee | 3–4 tablespoons (split between cooking and tempering) |
| Mustard seeds | 1 teaspoon |
| Dried red chilies | 2–3 whole |
| Curry leaves | 10–12 leaves |
| Asafoetida | ¼ teaspoon |
| Raw cashews | 10–12 pieces |
Use about 1–2 tablespoons of ghee during cooking to add richness to the rice-lentil base. Save the rest specifically for the tadka at the end — that final pour of tempered ghee gets mixed in right before serving and makes the dish glossy, aromatic, and incredibly satisfying.
Making Bisibele Bath Powder from Scratch
Whole Spices You Must Dry Roast First
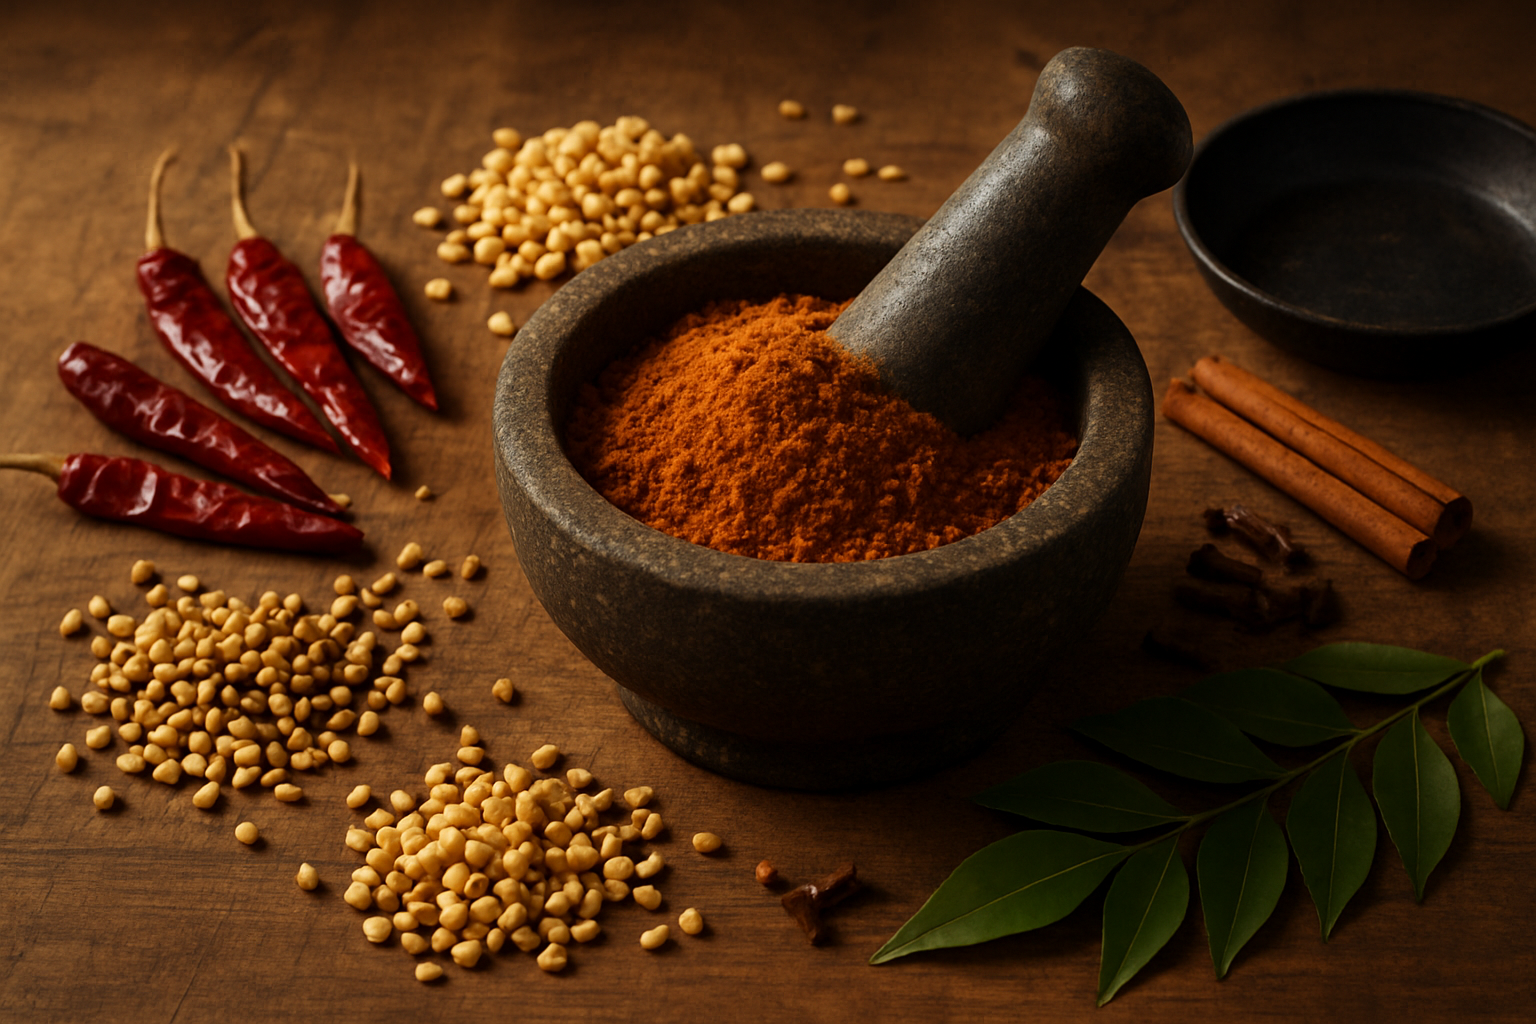
The homemade bisibele bath powder is honestly what separates a forgettable bowl from one that makes people ask for the recipe. Store-bought versions get the job done on a busy weeknight, but if you’re going all in on an authentic bisibele bath recipe, making your own spice mix is non-negotiable.
Dry roasting is the step most people skip or rush, and that’s a mistake. Heat activates the essential oils locked inside each spice, pulling out layers of flavor that simply don’t exist in raw or pre-ground versions. Work with a heavy-bottomed pan — cast iron or a thick stainless steel skillet — over medium-low heat. No oil. No water. Just dry heat and patience.
Here are the whole spices you need to roast for traditional Karnataka bisibele bath powder:
- Chana dal (Bengal gram) – 2 tablespoons
- Urad dal (split black gram) – 1 tablespoon
- Coriander seeds – 3 tablespoons
- Dried red chilies – 8 to 10 (Byadagi for color and mild heat, Guntur for extra punch, or a mix of both)
- Cumin seeds – 1 teaspoon
- Black peppercorns – 1 teaspoon
- Cinnamon stick – 1 inch piece
- Cloves – 4 to 5
- Cardamom pods – 2 to 3
- Marathi mokku (dried kapok buds) – 2 pieces (this is a signature ingredient in traditional Karnataka bisibele bath)
- Stone flower (dagad phool / kalpasi) – 2 small pieces
- Curry leaves – 1 sprig, fresh or dried
- Poppy seeds – 1 teaspoon
- Desiccated coconut – 3 tablespoons
The Order of Roasting Matters
Don’t throw everything into the pan at once. Different spices roast at different speeds and burn at different rates.
Stage 1 — Start with the dals:
Add chana dal first. Stir constantly for about 3 to 4 minutes until it turns golden and smells nutty. Then add urad dal and roast together for another 2 minutes. Remove and set aside.
Stage 2 — Dry red chilies:
Roast the dried red chilies on their own for 1 to 2 minutes until they puff slightly and become crisp. Watch them closely — they can go from perfect to bitter in seconds. Set aside.
Stage 3 — Coriander and cumin:
Add coriander seeds and roast for 2 to 3 minutes, then add cumin seeds and roast for another minute. You’ll smell a warm, citrusy fragrance rising from the pan. That’s your cue they’re done.
Stage 4 — Whole warm spices:
Add cinnamon, cloves, cardamom, marathi mokku, and stone flower together. These need only 45 seconds to 1 minute on medium-low heat. Stir constantly.
Stage 5 — Peppercorns and poppy seeds:
Add these together for about 1 minute. Poppy seeds can jump around — keep the heat low.
Stage 6 — Curry leaves and coconut:
Add curry leaves first and let them crisp up for 30 seconds. Then add desiccated coconut and stir continuously for 1 to 2 minutes until it turns light golden. This is the step that gives the bisibele bath spice mix its deep, rich base note.
Let everything cool completely on a wide plate before you grind. Grinding warm spices makes the powder paste-like and clumpy instead of fine and dry.
Step-by-Step Grinding for Maximum Aroma
Once your roasted spices are fully cool, it’s time to grind. A dry spice grinder or a small blender jar works perfectly here. A wet grinder is too large for this quantity and won’t give you the fine texture you want.
Here’s how to do it right:
- Grind in batches if needed — Overloading the grinder leads to uneven grinding where some spices stay coarse while others turn to dust.
- Start with the harder ingredients — Pulse the dals, coriander, peppercorns, and cinnamon first for about 30 seconds. These are the toughest to break down.
- Add the rest — Now add the dried red chilies, cloves, cardamom, marathi mokku, stone flower, poppy seeds, and coconut to the same jar.
- Grind in short pulses — Don’t run the grinder continuously for long stretches. Pulse for 10 seconds, rest for 5, then pulse again. This keeps the grinder from heating up and cooking your spices, which dulls the aroma.
- Check the texture — Your bisibele bath powder should be fine and slightly rustic, not ultra-smooth like a commercial blend. Rub a pinch between your fingers — you should feel minimal grittiness.
- Add curry leaves last — If your curry leaves didn’t get fully crisp during roasting, add them at the end of grinding so they break down evenly without leaving fibrous bits.
Aroma Check
Fresh homemade bisibele bath powder smells warm, complex, and slightly smoky from the roasted coconut and red chilies. There’s a sweetness from the coriander, a deep earthiness from the stone flower and marathi mokku, and a subtle heat underneath it all. If your powder smells flat or one-dimensional, the roasting likely wasn’t done long enough.
Storing the Powder to Preserve Freshness
Homemade bisibele bath powder has a shorter shelf life than commercial blends because it has no preservatives and the essential oils are fully active — which is exactly what makes it so good.
Best Storage Practices
| Factor | What to Do |
|---|---|
| Container | Use a clean, dry, airtight glass jar — not plastic, which absorbs odors |
| Moisture | Always use a dry spoon. Even one drop of water will cause clumping and spoilage |
| Light exposure | Store in a dark pantry or cupboard, away from direct sunlight |
| Temperature | Room temperature is fine for short-term storage; refrigerator extends shelf life |
| Shelf life at room temperature | Up to 3 to 4 weeks |
| Shelf life in refrigerator | Up to 3 months |
| Shelf life in freezer | Up to 6 months in a freezer-safe jar |
A Few Extra Tips
- Label your jar with the date you made it. It’s easy to forget, and using old powder that’s lost its punch defeats the whole purpose of making it from scratch.
- If you’re planning to make bisibele bath from scratch regularly, consider making a larger batch and freezing portions in small zip-lock bags. Pull one out the night before and let it come to room temperature before using.
- Store the jar away from your stovetop. The steam and heat from cooking slowly degrade the spices even through a sealed lid.
- If the powder ever smells stale, rancid, or faintly sour, don’t use it. Fresh powder is everything in a traditional Karnataka bisibele bath — dull powder means a dull dish, no matter how good the rest of your technique is.
Preparing Each Component Before Cooking
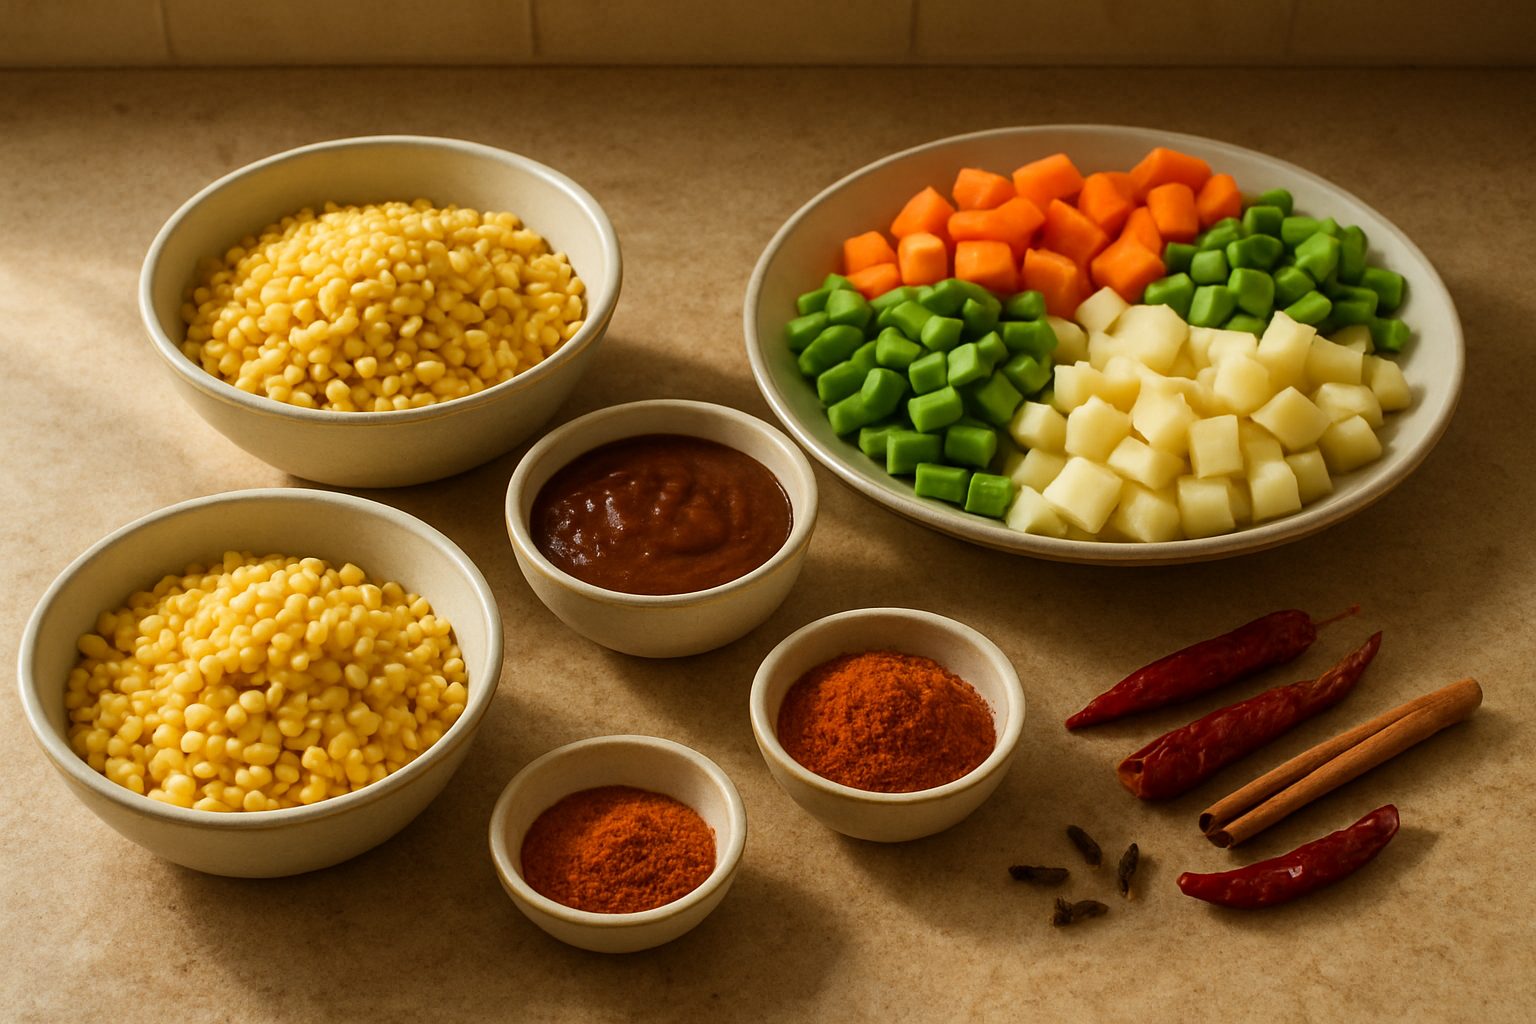
Cooking Rice and Dal to the Right Consistency
Getting the rice and dal cooked to the right texture is genuinely one of the most important steps in making an authentic bisibele bath recipe. The final dish should be thick, porridge-like, and almost melt-in-your-mouth — not grainy, not watery. That only happens when your rice and dal are cooked until they’re completely soft and mashable.
What you need:
- Rice: Short-grain sona masuri rice works best. Avoid basmati — the long grains stay separate and won’t give you that creamy, unified texture.
- Dal: Toor dal (split pigeon peas) is the traditional choice. No substitutes here if you’re going for that classic Karnataka bisibele bath taste.
The ratio that works:
Use a 1:2 ratio of rice to toor dal. So for every 1 cup of rice, use 2 cups of toor dal. This higher proportion of dal gives the dish its characteristic richness and body.
How to cook them:
- Rinse both the rice and toor dal separately under cold water until the water runs clear.
- Soak the toor dal for at least 20–30 minutes before cooking. This reduces cooking time and helps it break down more evenly.
- Combine the soaked dal and rinsed rice in a pressure cooker.
- Add water — roughly 4 to 5 cups for every cup of the combined rice and dal mixture.
- Cook on medium-high heat for 4–5 whistles.
- Once the pressure releases naturally, open the cooker and mash everything together with a ladle or the back of a spoon. You want it completely smooth with no dal chunks.
If you’re cooking on the stovetop without a pressure cooker, simmer the dal separately for about 40–45 minutes until it completely falls apart, then cook the rice to a soft, slightly overcooked state and combine.
Quick tip: If the mashed mixture looks too thick when you first mash it, add a splash of warm water and stir it through. It will thicken further once everything comes together in the final dish, so a loose consistency at this stage is perfectly fine.
Extracting Fresh Tamarind Pulp Correctly
Store-bought tamarind paste is convenient, but if you want your bisibele bath from scratch to taste genuinely homemade and traditional, there’s no replacing fresh tamarind pulp. The depth of sourness, the slight fruity edge, and the way it blends into the dish — none of that comes through properly with packaged paste.
What type of tamarind to use:
Go for a medium-sized lump of raw tamarind block — about the size of a golf ball (roughly 40–50 grams) for 2 servings. Avoid tamarind that smells overly sour or has turned very dark and dry on the inside. Good tamarind should be sticky, pliable, and slightly reddish-brown.
Step-by-step extraction:
- Break the tamarind block apart and remove any seeds or stringy fibres you can see.
- Soak the tamarind in 1.5 cups of warm water for at least 20–25 minutes. Hot water speeds things up, but warm water gives you a cleaner, less bitter pulp.
- Once softened, use your fingers to squeeze and work the tamarind into the water, breaking it down completely.
- Strain the mixture through a fine sieve or a clean muslin cloth, pressing firmly to extract all the pulp.
- Discard the dry fibrous residue and seeds left in the strainer.
The resulting pulp should be a smooth, slightly thick liquid. If it’s too thin and watery, it dilutes the dish. If it’s too thick and concentrated, it can overpower the spices.
How to judge the right consistency:
| Pulp Appearance | What It Means | What To Do |
|---|---|---|
| Thin and watery | Under-extracted | Re-soak the residue and extract again |
| Thick and very dark | Too concentrated | Dilute slightly with warm water |
| Smooth, medium-bodied | Just right | Ready to use |
A good quality tamarind extract smells tangy and slightly fruity — not sharp or chemical. This is what gives the traditional Karnataka bisibele bath that rounded sourness rather than a harsh, one-note acidity.
Prepping and Partially Cooking the Vegetables
Bisibele bath is wonderfully forgiving when it comes to vegetables, but the way you prepare and pre-cook them matters more than most people think. Dump in raw vegetables and you risk uneven cooking — some pieces turn mushy while others stay hard, and the whole thing tastes disjointed.
Which vegetables work best:
| Vegetable | Texture After Cooking | Notes |
|---|---|---|
| Shallots (small onions) | Soft, slightly sweet | A must-have in the authentic version |
| Carrot | Holds shape well | Cut into small cubes |
| Green beans (French beans) | Slight bite, chewy | Cut into 1-inch pieces |
| Green peas | Soft and sweet | Add fresh or frozen |
| Drumstick (moringa pods) | Tender with a slight bite | Cut into 3-inch pieces |
| Potato | Very soft | Add sparingly or it becomes dominant |
| Tomato | Melts into the dish | Adds body and a slight tang |
| Raw banana | Mild, starchy | Optional, adds traditional character |
Prepping them properly:
- Wash all vegetables thoroughly and cut them into uniform, bite-sized pieces. This isn’t just about looks — evenly sized pieces cook at the same rate.
- Shallots should be peeled and left whole if small, or halved if slightly larger. Their sweetness is a key flavour in a South Indian rice and lentil dish like this, so don’t skip them.
- Drumstick pieces benefit from a light scraping of the outer skin before cutting.
- Avoid leafy greens like spinach — they break down completely and muddy the flavour.
Partially cooking them before adding to the main dish:
You have two options here:
- Pressure cook lightly: Add the harder vegetables like carrots, beans, drumstick, and potato to a small pressure cooker with just enough water to cover them. Cook for 1 whistle only. They should be about 70% done — cooked through but still slightly firm. They’ll finish cooking when you add them to the bisibele bath.
- Sauté in ghee first (optional but recommended): In a wide pan, heat a teaspoon of ghee and lightly sauté the shallots until translucent. Add the other vegetables and stir-fry for 3–4 minutes. This step builds a subtle layer of flavour that you won’t get if you just boil everything.
If you’re using green peas, add them directly to the final dish without pre-cooking. They’re tender enough to cook through in the simmering bisibele bath without turning mushy.
A word on tomatoes: Add tomatoes directly to the tamarind water when you start building the dish, not during the vegetable pre-cooking stage. Tomatoes cook down quickly and their acidity works best when it has time to mellow into the tamarind base.
Getting these three components — the mashed rice-dal, the tamarind pulp, and the partially cooked vegetables — ready before you start the final assembly makes the whole process smooth and controlled. Each element is doing its job independently before it all comes together in the pot.
Cooking the Perfect Bisibele Bath

Building the Tamarind Base with Spices
The tamarind base is genuinely the heart of any authentic bisibele bath recipe, and getting it right sets the tone for everything else. Start by soaking a lemon-sized ball of tamarind in about one cup of warm water for 15–20 minutes. Once soft, squeeze out the pulp thoroughly and strain it to remove seeds and fibers. You want a thick, rust-colored extract — not too watery, not too pasty.
Heat a heavy-bottomed pot or a deep kadai over medium flame and pour in about 2–3 tablespoons of ghee. Once the ghee shimmers:
- Add a teaspoon of mustard seeds and wait for them to splutter
- Toss in 10–12 fresh curry leaves and a couple of dried red chilies
- Add a pinch of asafoetida (hing) — this is non-negotiable in traditional Karnataka bisibele bath
- Drop in one medium onion, finely chopped, and sauté until golden
- Add one medium tomato and cook until it breaks down completely
Now pour in the tamarind extract. Let it come to a rolling boil and then simmer for 8–10 minutes until the raw tamarind smell disappears and the base thickens slightly. This step is what cooks call “cooking off the tamarind” — it deepens the sourness and rounds out the flavor.
Add your bisibele bath powder at this stage — about 2 to 2.5 tablespoons for a standard batch (adjust based on how spicy your homemade powder is). Stir it in well and let everything bubble together for another 3–4 minutes. The base should smell deeply spiced, slightly tangy, and rich. If you’re using store-bought powder, go a little cautious at first; homemade bisibele bath powder tends to be more aromatic and balanced.
Combining All Components at the Right Time
Timing matters a lot when you bring everything together. Dump everything in too early and the dal turns mushy before the tamarind is ready. Add things too late and the flavors don’t have time to marry.
Here’s the right order to follow:
- Tamarind base with spices — already bubbling in the pot (as above)
- Cooked toor dal — add this first, stirring it into the tamarind base; let it cook together for 5 minutes
- Cooked vegetables — add your pre-cooked veggies (carrots, beans, peas, small onions, drumstick if using) at this point
- Cooked rice — this goes in last; the rice should be slightly overcooked and soft so it blends into the dish naturally
When you add the cooked rice, the mixture will immediately thicken. Keep stirring to prevent the bottom from catching. Add hot water — not cold — to loosen it up as needed. Cold water can make the rice seize up and turn gluey.
Tips for Combining Well
- Make sure your dal is cooked until very soft — almost falling apart. This is what gives bisibele bath its creamy, unified texture rather than a separated rice-and-lentil feel.
- Use a wooden spoon or a flat ladle to fold everything together rather than stirring aggressively. You want the rice grains to break down slightly but not disappear completely.
- The ratio that works beautifully for this South Indian rice and lentil dish is 1 cup rice : ½ cup toor dal : 2 cups mixed vegetables.
Achieving the Ideal Porridge-Like Consistency
One of the most common mistakes people make when learning how to make bisibele bath is getting the consistency wrong — it ends up either too thick (almost like a solid block) or too watery (more like a soup). The sweet spot is a flowing, porridge-like texture that slowly spreads when you spoon it onto a plate.
Think of it like a thick, pourable risotto. It should hold its shape briefly when served but then settle and spread gently. That’s the texture you’re going for.
How to Get There
| Consistency | What It Means | Fix |
|---|---|---|
| Too thick | Holds shape, doesn’t spread | Add hot water, ¼ cup at a time, stirring continuously |
| Too watery | Runny, no body | Simmer uncovered on low heat for 5–10 minutes |
| Just right | Slowly spreads, glossy surface | Serve immediately or keep covered on very low heat |
Keep in mind that bisibele bath thickens as it cools. So if you’re making it ahead of time or serving it after a gap, make it slightly looser than you think you need. By the time it hits the table, it will have thickened to the right consistency.
Ghee plays a big role here too. Adding a generous spoonful of ghee at the end (or even mid-cooking) helps create that glossy, luxurious texture that makes authentic bisibele bath so distinctive. Don’t be shy with it.
Simmer the final dish on low heat for at least 10 minutes after everything is combined. This low-and-slow finish lets the rice, dal, and tamarind base become one cohesive dish rather than three things coexisting in the same pot.
Adjusting Salt, Spice, and Sourness to Taste
This is where you move from “pretty good bisibele bath” to “incredibly authentic bisibele bath from scratch.” Taste constantly and adjust gradually — you can always add more, but you can’t take it back.
Balancing the Three Key Elements
Salt:
Add salt in stages — a little when the tamarind base is cooking, a little after the dal goes in, and a final adjustment at the end. The dal and vegetables absorb a surprising amount of salt, so what tastes right before they’re added will often taste flat after.
Spice:
If the dish feels flat or needs more heat, you have a few options:
- Stir in a small amount of extra bisibele bath spice mix (start with half a teaspoon)
- Add a pinch of red chili powder for direct heat without changing the complexity
- Drop in another dried red chili during the tempering at the end for a milder, background heat
If it’s too spicy, a small spoonful of jaggery and an extra ladle of cooked dal can bring things back into balance.
Sourness:
The tamarind gives bisibele bath its characteristic tang. If the dish feels too sour:
- Add a small piece of jaggery (about the size of a marble) — this is a traditional Karnataka technique to balance tamarind sourness
- Let it simmer a little longer; extended cooking softens the sharpness of tamarind
If it needs more sourness, add a small squeeze of strained tamarind water rather than raw tamarind paste.
The Jaggery Secret
Nearly every traditional recipe from Karnataka uses a small amount of jaggery — usually added toward the end. It doesn’t make the dish sweet; it just rounds off the hard edges of the tamarind and spice. Think of it as the thing that makes all the other flavors taste more like themselves. Start with a small piece (about 1–2 teaspoons grated) and taste before adding more.
A final drizzle of ghee right before serving pulls everything together and adds a nutty richness that no other fat can replicate in this dish. This bisibele bath step by step approach to layering and adjusting flavors is what separates a memorable version from an ordinary one.
Finishing Touches That Elevate the Dish
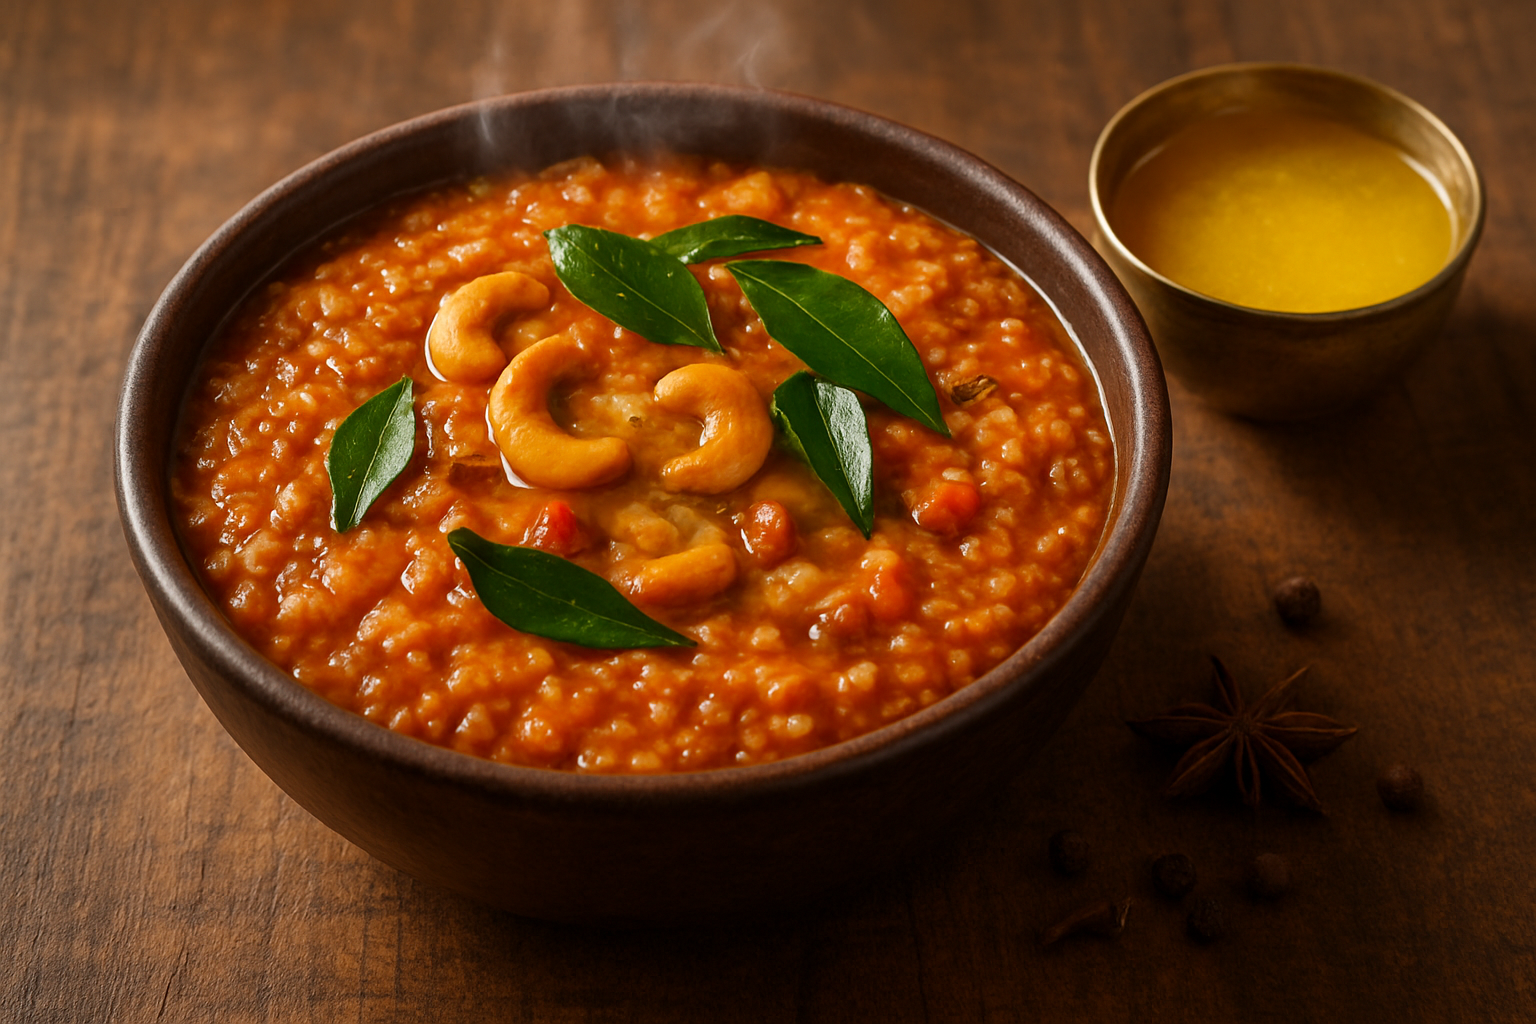
The Essential Ghee and Cashew Tempering
This is the step that separates a good bisibele bath from a truly unforgettable one. The tempering — called oggarane in Kannada — is poured over the dish right at the end, and it does something almost magical to the whole pot.
Here’s what you need for the classic tempering:
- Pure desi ghee — at least 2 to 3 tablespoons, and don’t be shy about it
- Cashews — a generous handful, broken into halves
- Dried red chilies — 2 to 3, depending on your heat preference
- Curry leaves — a full sprig, and fresh ones if you can find them
- Mustard seeds — about half a teaspoon
- Asafoetida (hing) — just a pinch, but it makes a big difference
How to Do the Tempering Right
Heat ghee in a small pan over medium flame. Drop in the mustard seeds and wait for them to splutter — this is your cue that the ghee is hot enough. Toss in the cashews next and keep stirring. You want them to turn a deep golden color, not pale yellow, because that nutty, toasty flavor is exactly what you’re going for.
Add the dried red chilies and curry leaves carefully — the curry leaves will pop and spit, so stand back just a little. Add the pinch of hing right at the end, give it a quick stir, and immediately pour the entire tempering over your bisibele bath.
Stir it gently through the dish so every spoonful gets a bit of that golden ghee. The richness from the ghee carries all those flavors deep into the rice and lentil mixture, rounding out the spice from your homemade bisibele bath powder beautifully.
Pro tip: If the bisibele bath has thickened too much while it was sitting, pour the tempering over it first, then add a splash of hot water and stir everything together. The ghee helps loosen the dish while keeping it silky rather than watery.
Garnishing for Visual Appeal and Flavor
Once the tempering is on, a few simple garnishes take this traditional Karnataka bisibele bath from a humble home-cooked meal to something that looks genuinely impressive on the table.
Garnishes That Actually Add Flavor
- Fresh coriander leaves — chopped roughly and scattered generously on top. They add a fresh, herby lift that cuts through the richness of the ghee.
- Extra toasted cashews — if you made a few more than you needed for the tempering, scatter them on top for crunch and visual appeal.
- A small drizzle of extra ghee — right before serving, especially if you’re serving to guests. It adds a beautiful sheen and an inviting aroma.
- Grated coconut — lightly toasted or fresh, this is optional but deeply traditional in many Karnataka households. It adds a mild sweetness that works surprisingly well with the spice.
What to Avoid
| Garnish | Why to Skip It |
|---|---|
| Cream or yogurt on top | Changes the flavor profile entirely |
| Heavy cheese | Clashes with the South Indian spice mix |
| Fried onion rings | Too heavy and can overpower the dish |
| Lemon juice | The dish already has tamarind; adding lemon makes it too sour |
Keep the garnishes rooted in South Indian flavors and you really can’t go wrong. The goal is to enhance the dish, not disguise it.
Serving Suggestions and Ideal Accompaniments
Bisibele bath is one of those rare dishes that works beautifully as a complete meal on its own, but pairing it with the right sides takes the whole experience up a notch. This easy bisibele bath recipe becomes a full spread with very little extra effort.
Serving Temperature and Texture
Bisibele bath is best served piping hot. It thickens quickly as it cools, so if you’re serving it after a short rest, stir in a little hot water to bring it back to the right consistency — it should pour slowly from a ladle, not sit stiff like a solid.
Serve it in deep bowls or on a banana leaf if you’re going full traditional. The banana leaf actually adds a faint, pleasant aroma to the dish that elevates the whole eating experience.
Classic Accompaniments
- Boondi raita — the cool, spiced yogurt with tiny fried chickpea flour balls is the most classic pairing. The coolness balances the heat from the bisibele bath spice mix perfectly.
- Papad (pappadums) — fried or roasted, they add crunch to every bite. Urad dal papads are the traditional choice.
- Pickle — a small spoonful of mango or lemon pickle on the side adds a punchy contrast.
- Chips or sev — many Karnataka households serve bisibele bath with a handful of potato chips or thin sev scattered on top at the table for crunch.
A Traditional Meal Setup
| Component | Role in the Meal |
|---|---|
| Bisibele bath | The star — hearty, spiced, and filling |
| Boondi raita | Cooling element to balance the heat |
| Fried papad | Textural contrast |
| Mango pickle | Sharp, tangy punch |
| Extra ghee on the side | For those who want more richness |
If you’re serving this as part of a larger South Indian spread, bisibele bath pairs well alongside a simple kosambari (lentil salad) and some steamed rice with rasam. But honestly, a bowl of authentic bisibele bath with a crispy papad and cold raita is all you really need for a deeply satisfying meal.
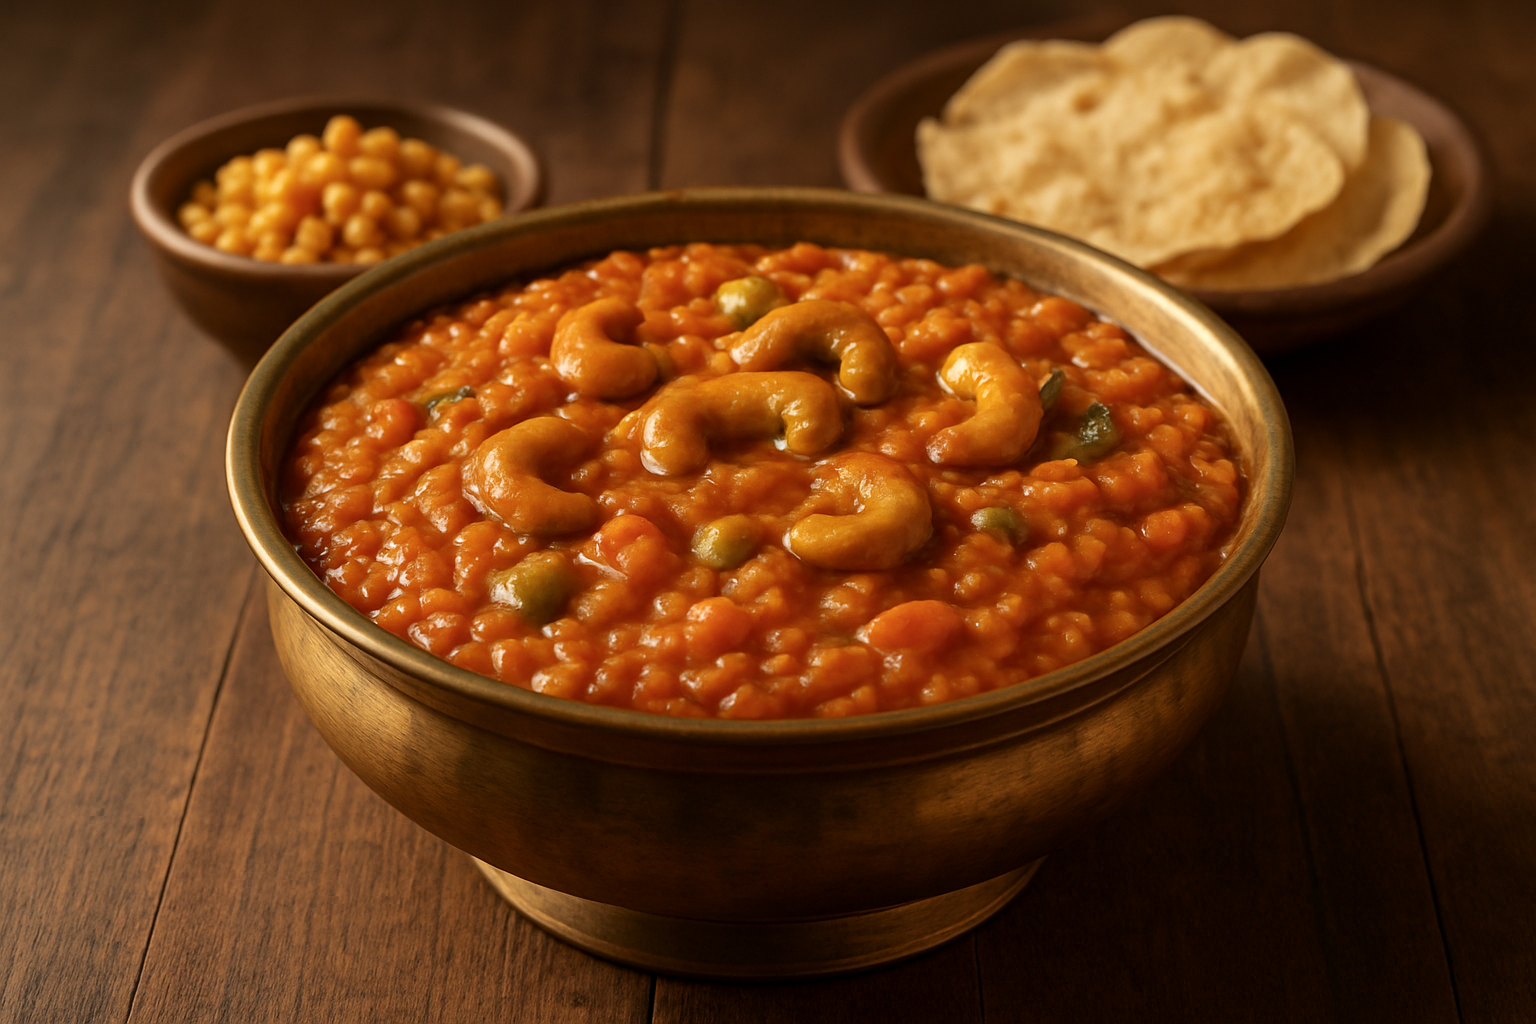
Making authentic Bisibele Bath from scratch is absolutely worth every step. From grinding your own spice powder to carefully preparing the rice, lentils, and vegetables, each part of the process adds up to something truly special. The freshly made Bisibele Bath powder alone makes a world of difference, giving the dish that deep, layered flavor you just cannot get from store-bought mixes.
The finishing touches — the ghee, the cashews, the tempering — are what take it from a simple one-pot meal to something that feels like a warm hug in a bowl. Once you make it this way, it is hard to go back. So grab your ingredients, take your time with each step, and enjoy the process. Your first spoonful will tell you it was all worth it.