



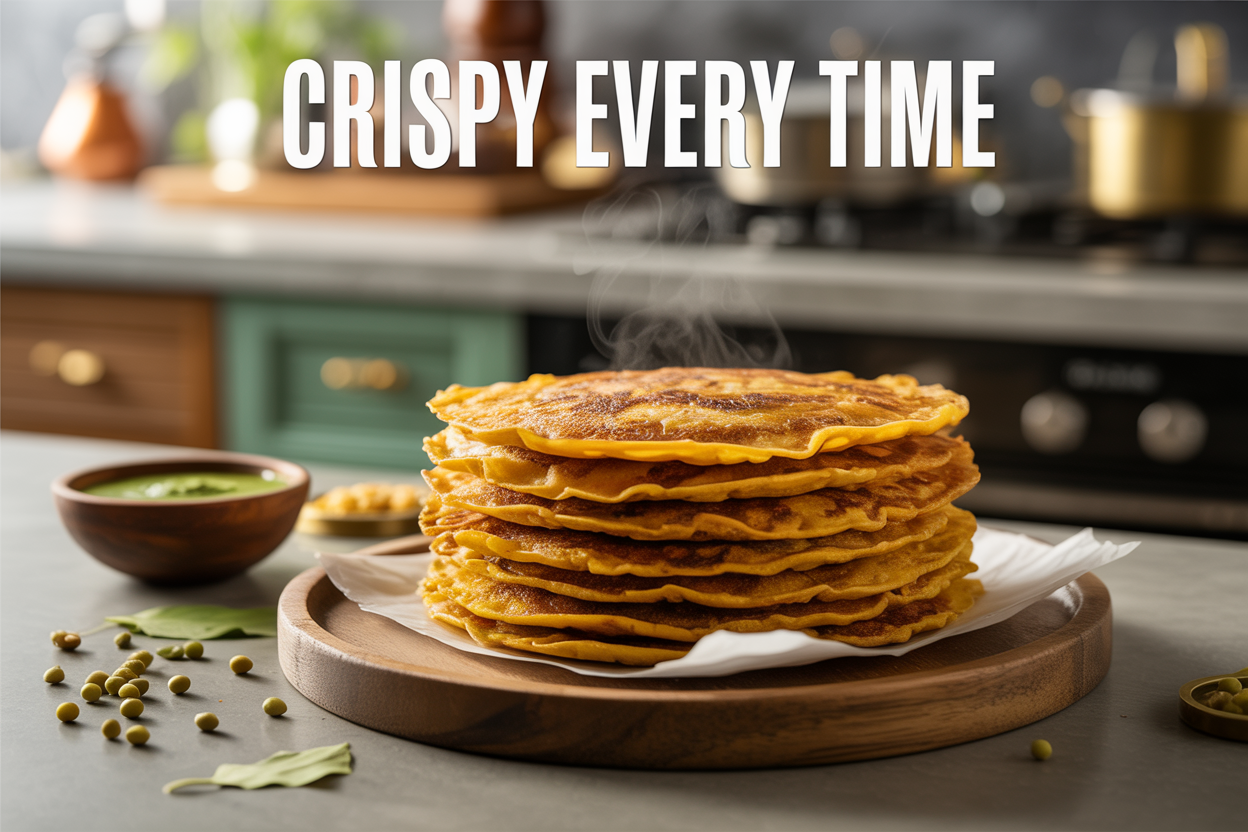
How to Make Moong Dal Chilla Crispy Every Time
If your moong dal chilla keeps turning out soft, chewy, or stuck to the pan, you’re not alone. Most home cooks run into the same few problems — and they’re all fixable.
This guide is for anyone who loves a good crispy moong dal chilla but can’t quite nail that golden, crunchy texture at home. Whether you’re a beginner trying this Indian savory pancake recipe for the first time or someone who’s made it a dozen times and still isn’t happy with the results, this is for you.
Here’s what we’ll walk through together: why the batter consistency is everything when it comes to a crispy chilla, which cooking technique actually gets you that satisfying crunch, and the most common mistakes people make that quietly kill the crispiness before the chilla even hits the plate.
By the end, you’ll have a clear, simple game plan for making perfect moong dal chilla every single time — no guesswork, no soggy edges.
Table of Contents
Understanding the Secret Behind Crispy Moong Dal Chilla
Why Batter Consistency Is the Game Changer
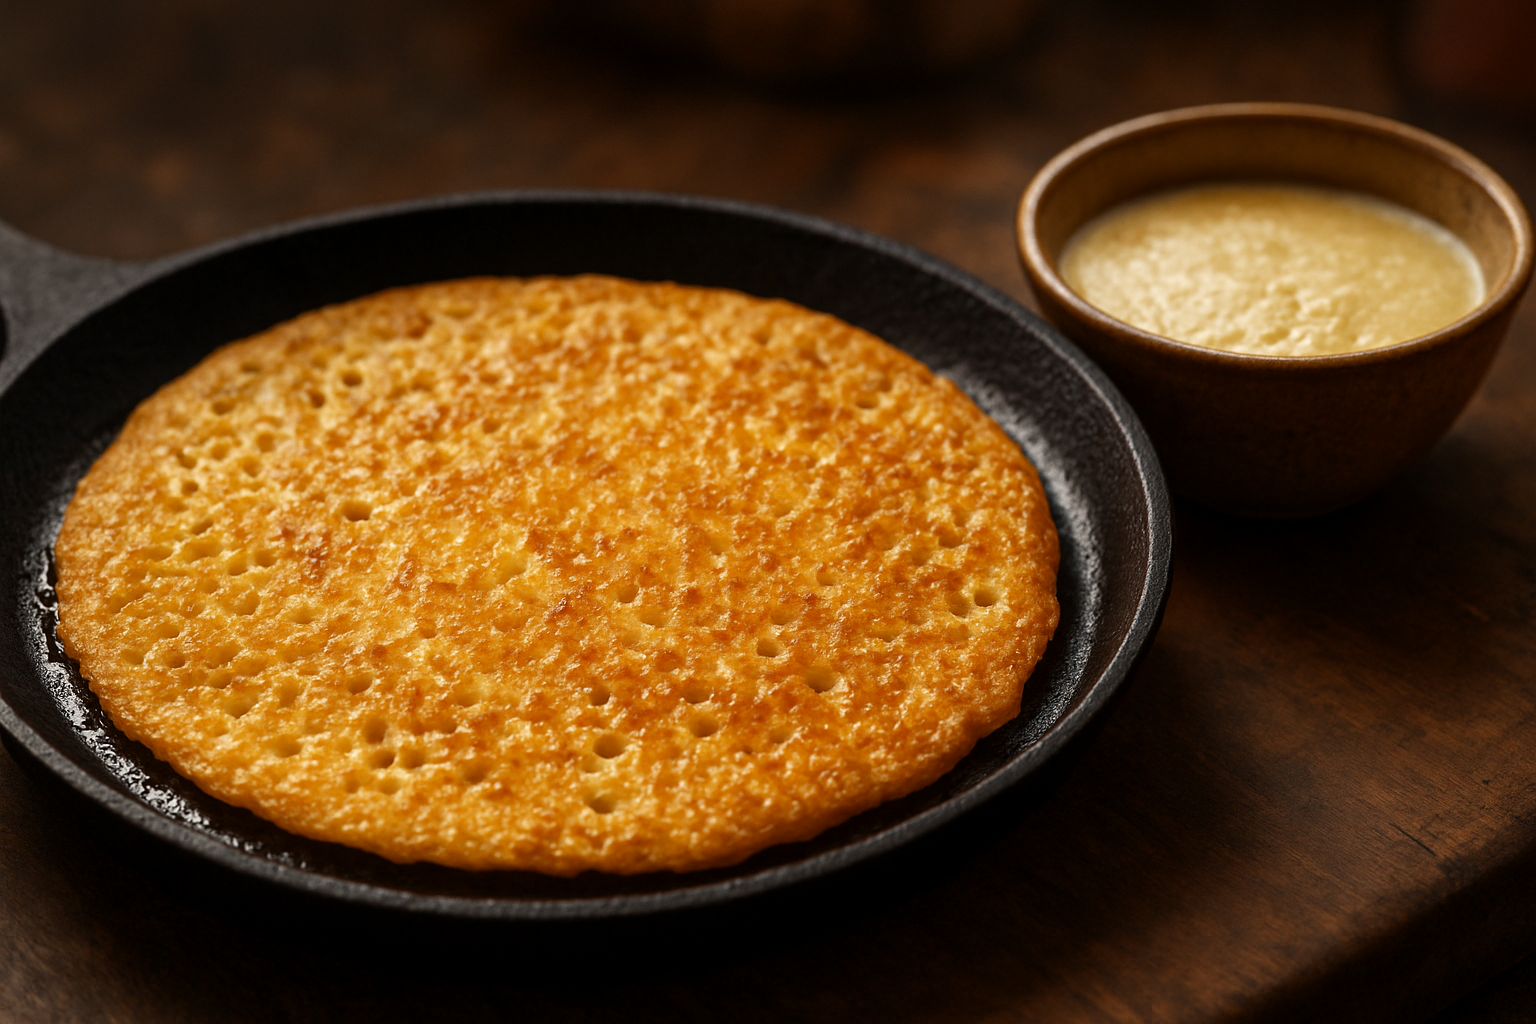
The batter is everything when it comes to a crispy moong dal chilla. Too thick, and your chilla turns dense and doughy. Too thin, and it tears while spreading. You’re aiming for a smooth, pourable consistency — somewhere between buttermilk and regular pancake batter. A good test: when you lift your ladle, the batter should flow in a steady, ribbon-like stream.
How Soaking Time Affects Texture
Soaking directly impacts how well the dal grinds and how the final chilla holds up on the pan.
| Soaking Duration | Effect on Chilla |
|---|---|
| 2–3 hours | Decent grind, slightly grainy texture |
| 4–6 hours | Smooth batter, crispier result |
| Overnight | Very smooth, best crunch |
Six hours is the sweet spot for most home cooks. Longer soaking softens the dal completely, giving you a finer grind that spreads evenly on the tawa.
The Role of Fermentation in Achieving Crispiness
A short fermentation of 4–8 hours creates mild acidity in the crispy chilla batter, which does two things — it deepens flavor and helps the edges crisp up faster on the pan. Skipping fermentation isn’t a dealbreaker, but even a few hours makes a noticeable difference in texture.
Choosing the Right Ingredients for Maximum Crunch
Best Type of Moong Dal to Use
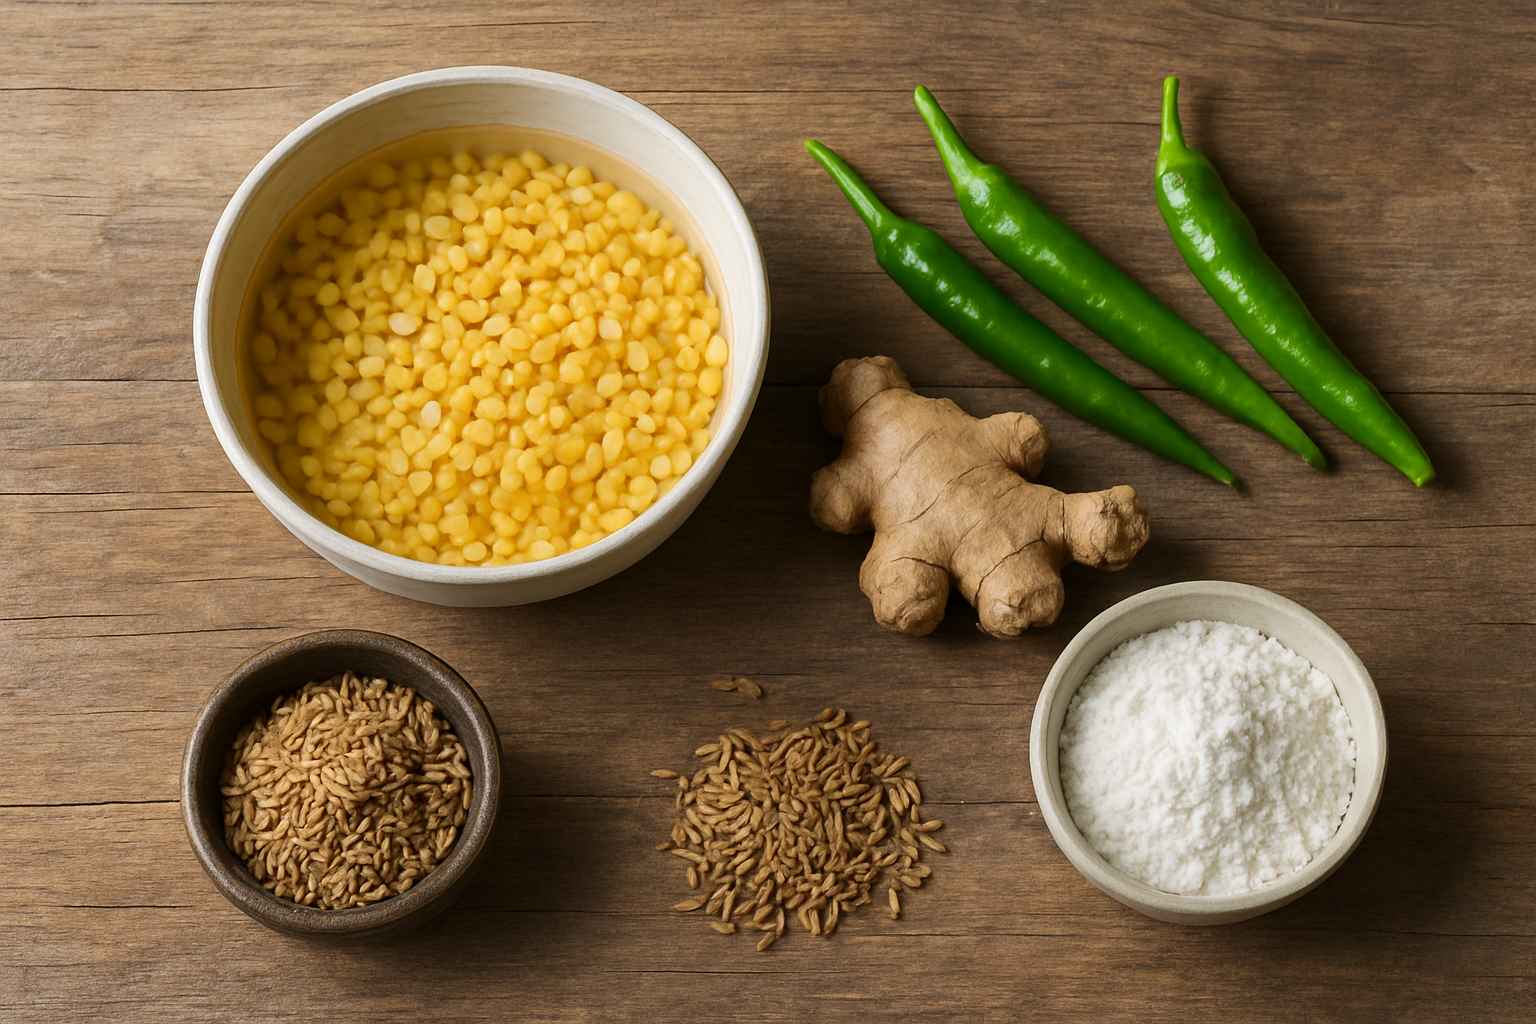
For a crispy moong dal chilla, always go with split yellow moong dal (dhuli moong dal). It soaks faster, blends smoother, and creates a batter that spreads thin — the key to that golden crunch. Whole green moong works too but gives a denser texture.
Key Spices That Enhance Flavor and Texture
- Cumin seeds – add a subtle crunch
- Green chili – keeps moisture minimal while adding heat
- Ginger – aids digestion and sharpens flavor
- Asafoetida (hing) – a tiny pinch goes a long way
- Salt – add just before cooking, never during soaking
Optional Add-Ins That Boost Crispiness
| Add-In | Why It Helps |
|---|---|
| Rice flour | Makes the batter crispier |
| Semolina (sooji) | Adds a grainy crunch |
| Finely chopped onions | Thin slices caramelize well |
| Fresh coriander | Minimal moisture, big flavor |
Ingredients to Avoid That Make Chilla Soggy
- Excess water in the batter — the biggest culprit
- Thick vegetable fillings inside the chilla
- Too much oil in the batter — save it for the pan
- Yogurt or cream — great for softness, bad for crispiness
Mastering the Perfect Batter Preparation
Ideal Soaking Duration for Best Results
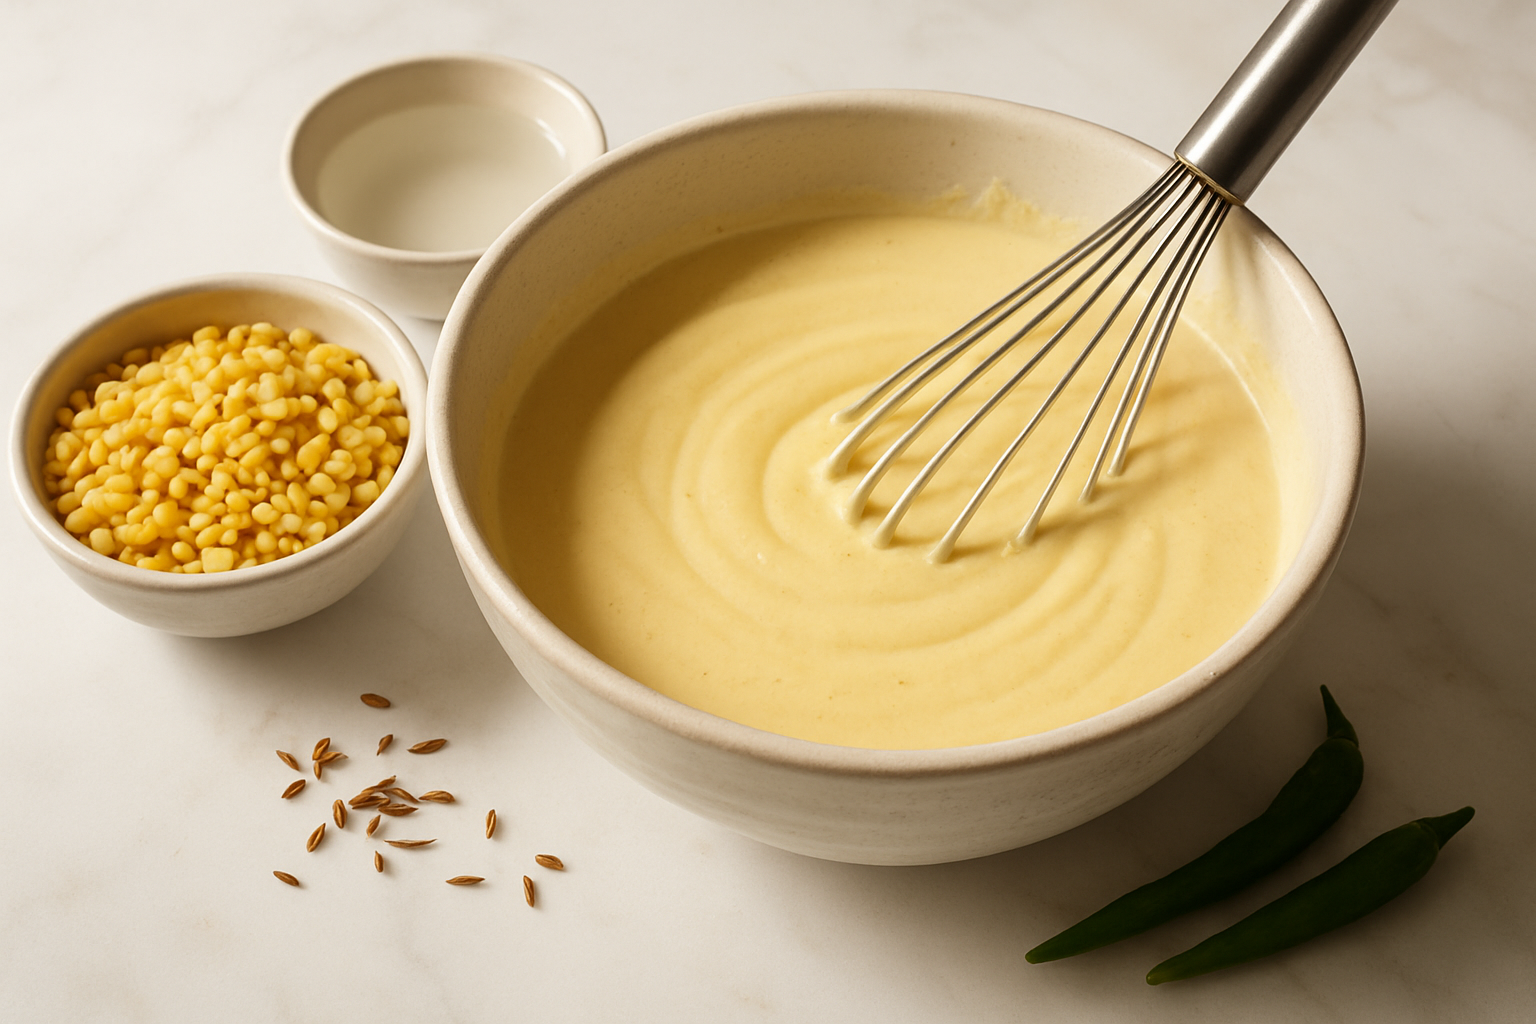
Soak your moong dal for 4 to 6 hours — this is the sweet spot for a crispy moong dal chilla. Overnight soaking works too, but beyond 8 hours, the dal can turn slightly sour and affect the batter’s texture. A minimum of 4 hours ensures the lentils soften enough to blend smoothly without absorbing excess water.
Correct Water Ratio for a Thin, Spreadable Batter
The crispy chilla batter should have a pouring consistency, similar to thin buttermilk. A rough guide:
| Dal Quantity | Water for Blending |
|---|---|
| 1 cup soaked dal | ½ to ¾ cup water |
| 2 cups soaked dal | 1 to 1½ cups water |
Add water gradually while blending — you can always add more, but a watery batter is hard to fix and directly kills crispiness.
Blending Tips for a Smooth Yet Light Consistency
- Blend in short pulses first, then run continuously for 60–90 seconds
- Avoid over-blending — it heats the batter and makes it dense
- A few tiny granules are fine; a completely pasty batter spreads too thick
- Rest the batter for 10 minutes before cooking so air bubbles settle, giving you an even, crispy chilla every time
Getting the Cooking Technique Right
Choosing the Right Pan for Even Crispiness
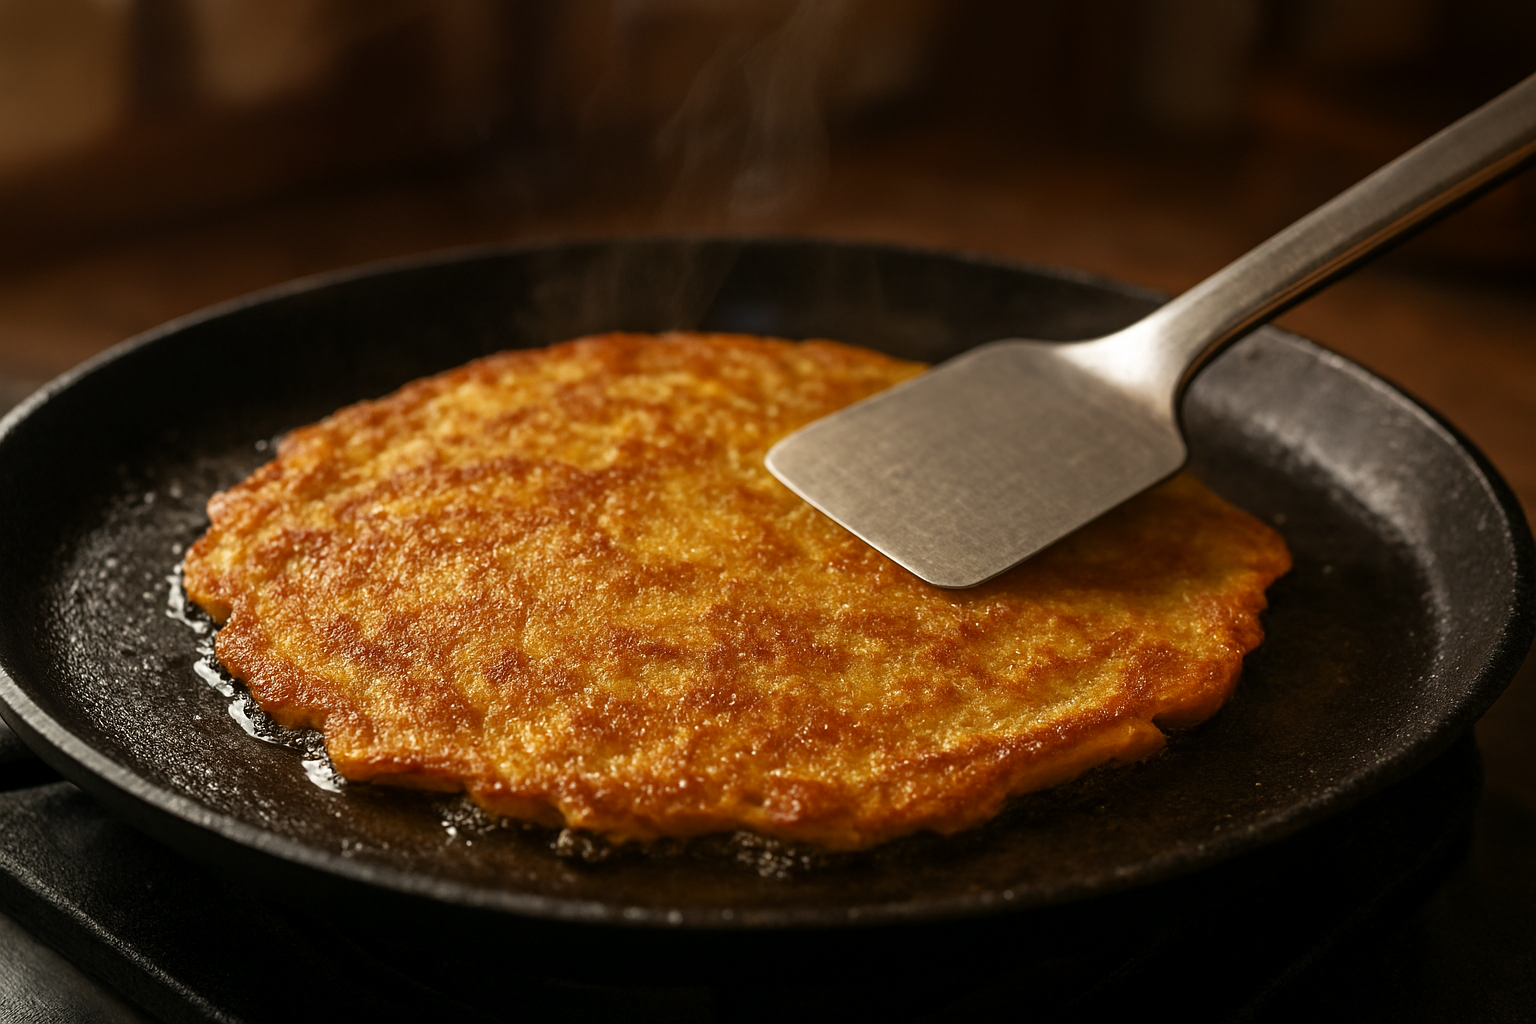
A cast iron or heavy-bottomed non-stick pan works best for a crispy moong dal chilla. Cast iron holds heat evenly, giving you that golden crunch without hot spots. Non-stick pans are beginner-friendly and require less oil.
Ideal Heat Level to Prevent Burning or Undercooking
Medium-high heat is your sweet spot. Too low, and the chilla turns soft and pale. Too high, and it burns before cooking through. Let the pan heat properly before pouring the batter — a drop of water should sizzle and evaporate instantly.
How to Spread the Batter Thin for Maximum Crunch
Pour the batter in the center, then quickly spread it outward in circular motions using the back of your ladle. Thinner spread = crispier chilla. Aim for a 6–7 inch circle with consistent thickness.
When and How to Flip Without Breaking the Chilla
Flip only when the edges look dry and slightly golden. Slide a flat spatula fully under the chilla before flipping. Rushing this step is the #1 reason chillas break.
The Right Amount of Oil for a Golden, Crispy Finish
Drizzle ½ teaspoon of oil around the edges after spreading the batter. Add another small drizzle before flipping. Too much oil makes it greasy; too little leaves it dry and pale.
Avoiding Common Mistakes That Ruin Crispiness
Why Your Chilla Sticks to the Pan and How to Fix It
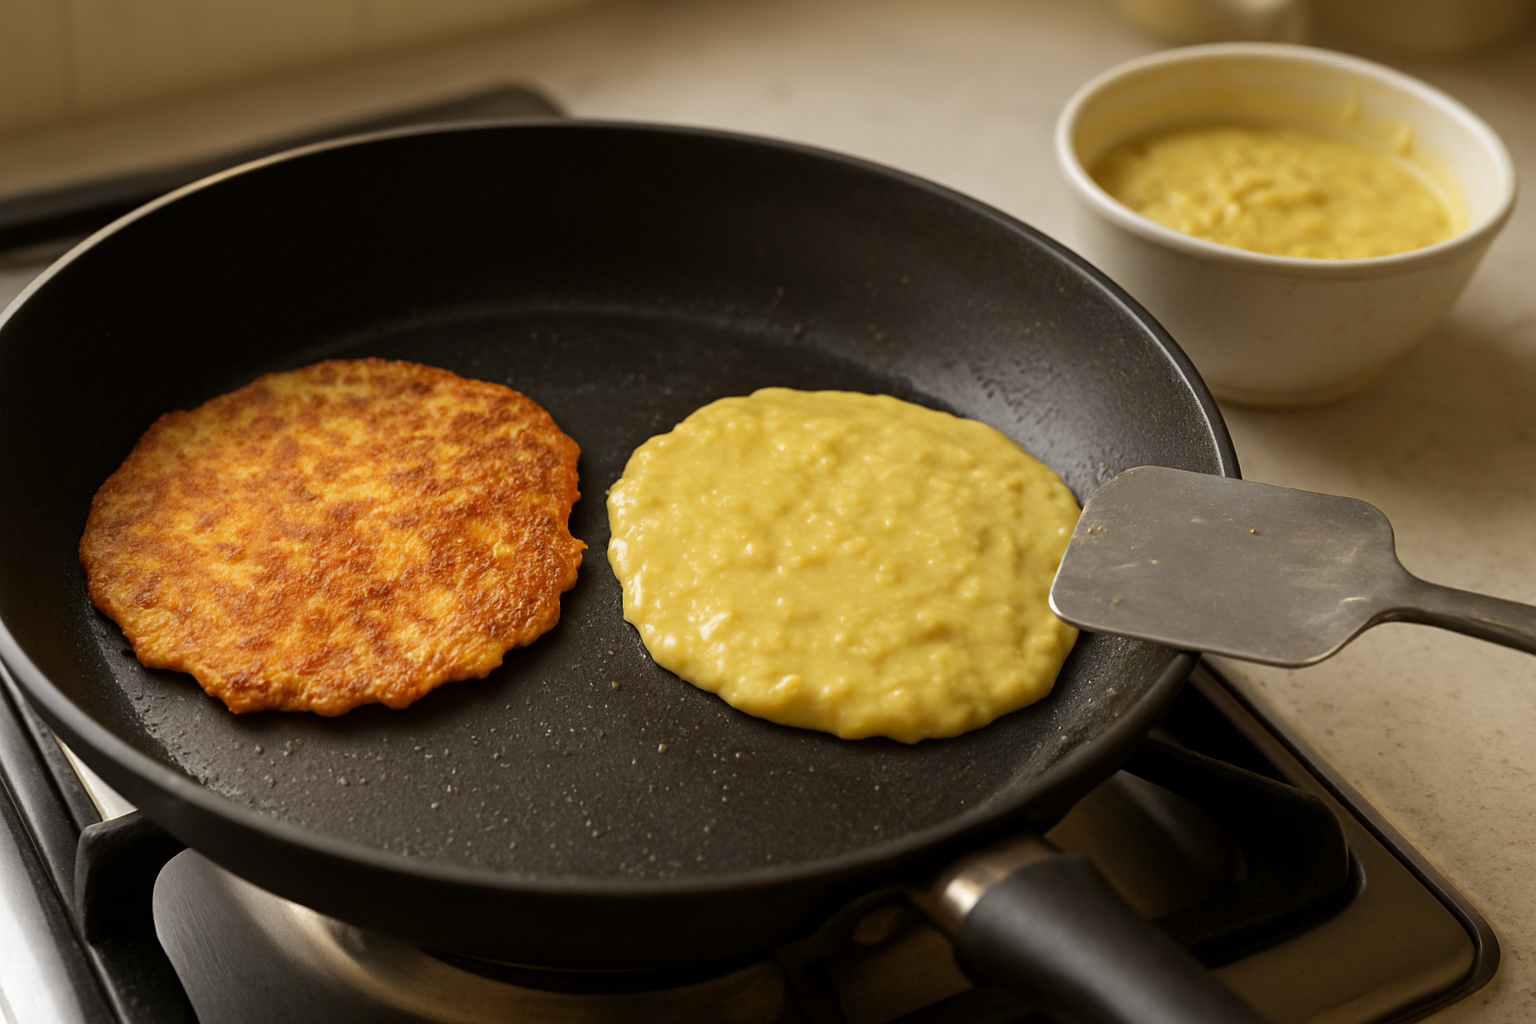
Sticking is almost always a pan temperature issue. Your pan must be properly preheated before adding batter — test it by sprinkling a few water drops; they should sizzle and evaporate instantly. Always spread a thin layer of oil and let it heat before pouring. Non-stick or well-seasoned cast iron pans work best for a crispy moong dal chilla.
How Excess Moisture in Batter Kills Crunch
Watery batter is the #1 enemy of a crispy chilla. Key culprits:
- Too much water during grinding
- Watery vegetables like zucchini or tomatoes added without squeezing
- Skipping the resting time, which makes batter too loose
Aim for a smooth, pourable but slightly thick consistency — similar to dosa batter. If your batter feels runny, add a tablespoon of besan (chickpea flour) to tighten it up.
Overcrowding the Pan and Its Impact on Texture
Cooking multiple chillas in one pan traps steam, turning your crispy dal chilla soggy. Always:
- Cook one chilla at a time
- Keep heat at medium-high throughout
- Avoid covering the pan — steam destroys the crunch you worked hard to build
Storing and Reheating Chilla Without Losing Crunch
Best Way to Store Leftover Chilla
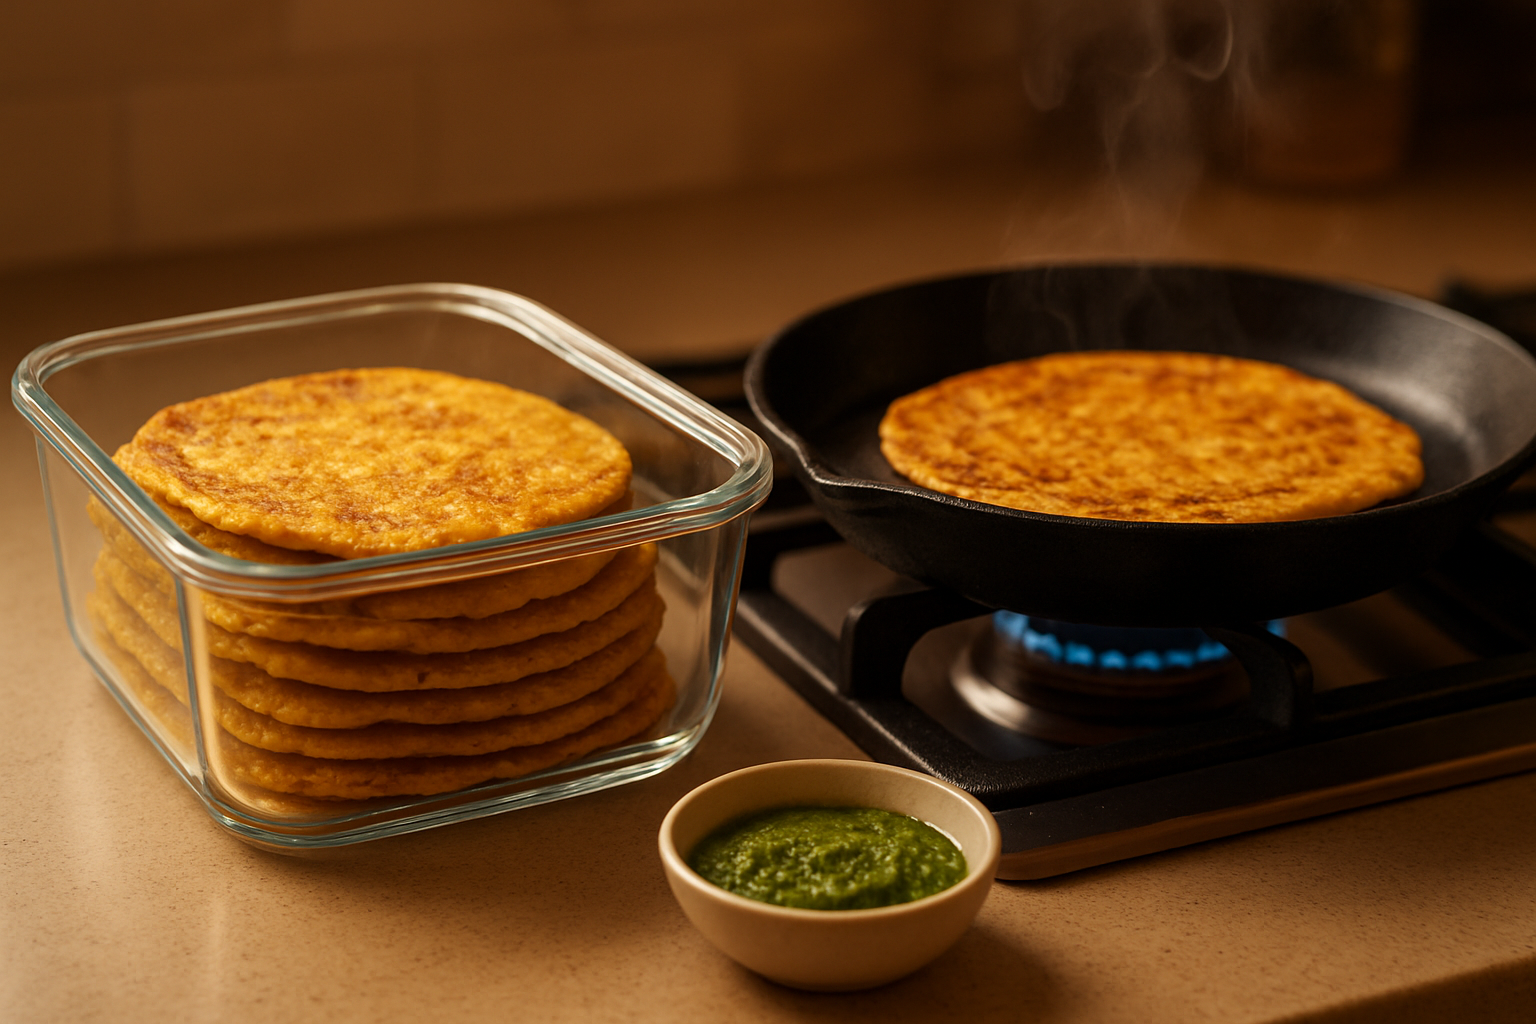
Storing crispy moong dal chilla the right way makes all the difference. Follow these simple steps:
- Cool completely before storing — trapping steam is the fastest way to make chilla soggy
- Place them in a single layer on a plate lined with a paper towel
- Stack with parchment paper between each chilla to prevent sticking
- Store in an airtight container at room temperature for up to 4 hours, or refrigerate for up to 2 days
Reheating Method That Restores Crispiness
Skip the microwave — it’s a crispiness killer. Here’s what actually works:
| Method | Result | Time |
|---|---|---|
| Tawa/skillet (dry, medium heat) | Best crispiness restored | 2–3 mins per side |
| Air fryer (180°C) | Excellent crunch | 3–4 mins |
| Oven (200°C) | Good results | 5–6 mins |
| Microwave | Soft and rubbery | Avoid |
A few drops of oil on the pan while reheating brings back that golden crispy moong dal chilla texture almost like freshly made.
How Long Chilla Stays Fresh and Crispy
- Room temperature: Best within 3–4 hours
- Refrigerated: Up to 2 days (reheat before eating)
- Frozen: Not recommended — texture suffers significantly
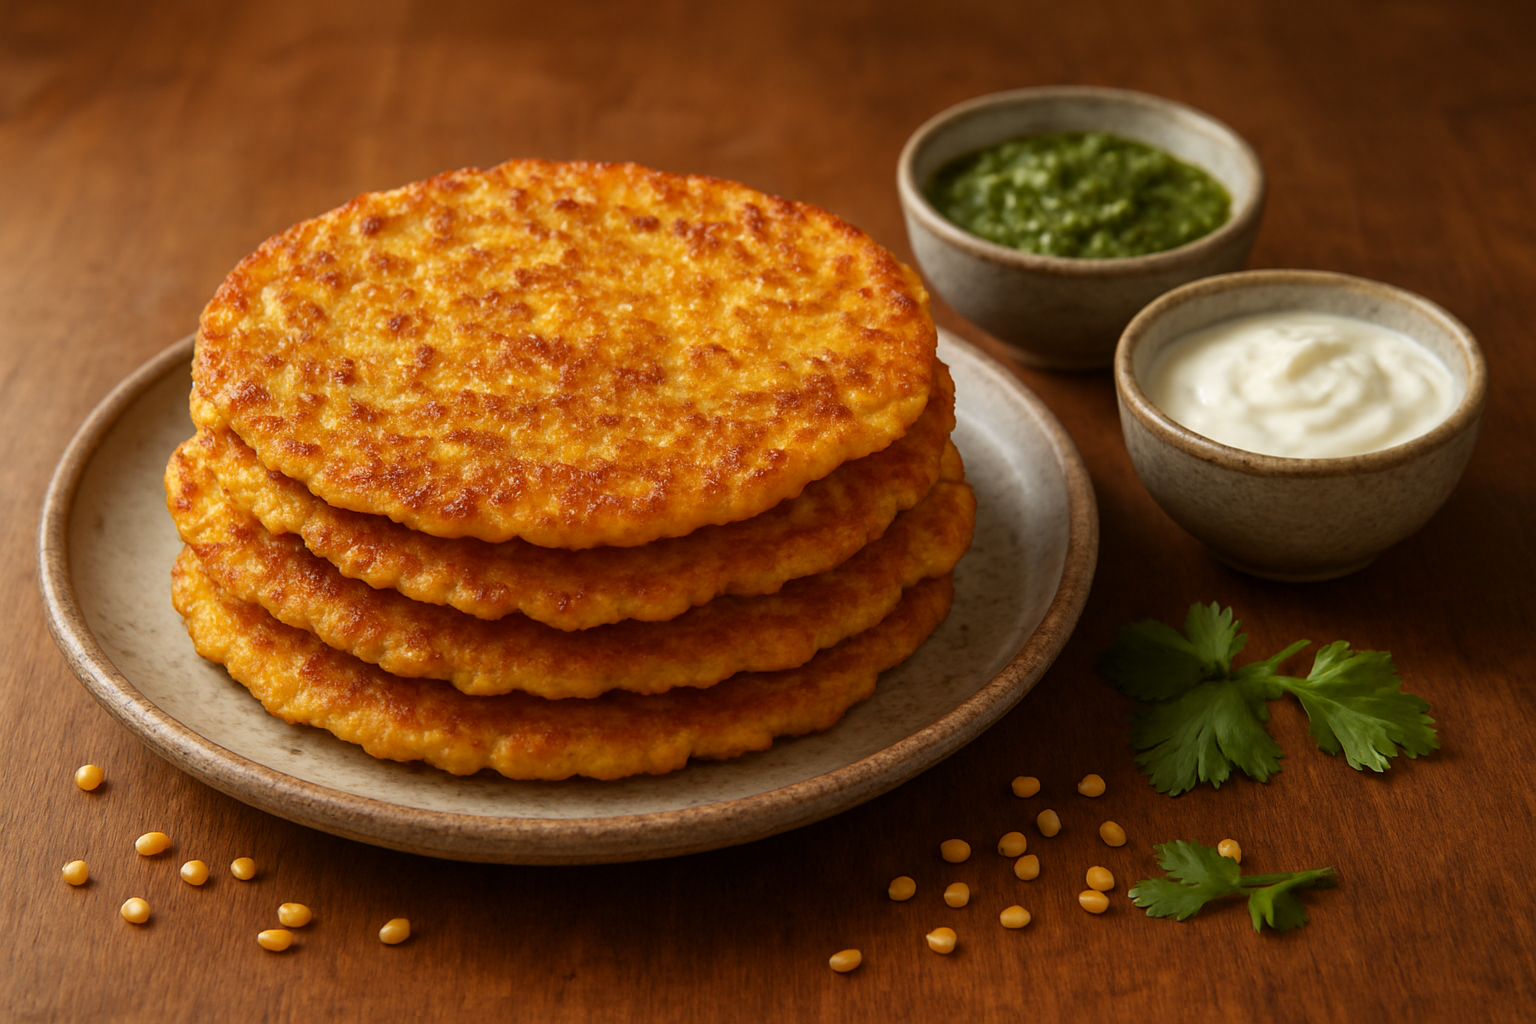
Getting that perfect crispy moong dal chilla every time really comes down to a handful of simple things — the right batter consistency, a well-heated pan, and a little patience while cooking. From picking fresh, good-quality moong dal to nailing the soaking and grinding process, each step plays a role in that satisfying crunch you’re after. Avoiding common pitfalls like a watery batter or overcrowding the pan can make a huge difference, and knowing how to store and reheat your chilla properly means you never have to settle for a soggy one again.
Now that you’ve got the full picture, it’s time to get into the kitchen and give it a shot. Start with the basics, follow the tips, and don’t be discouraged if the first one doesn’t turn out perfect — even the best home cooks have had a chilla stick to the pan once or twice. Keep experimenting with fillings and toppings, and before you know it, crispy moong dal chilla will become your go-to breakfast or snack without even thinking twice about it.