



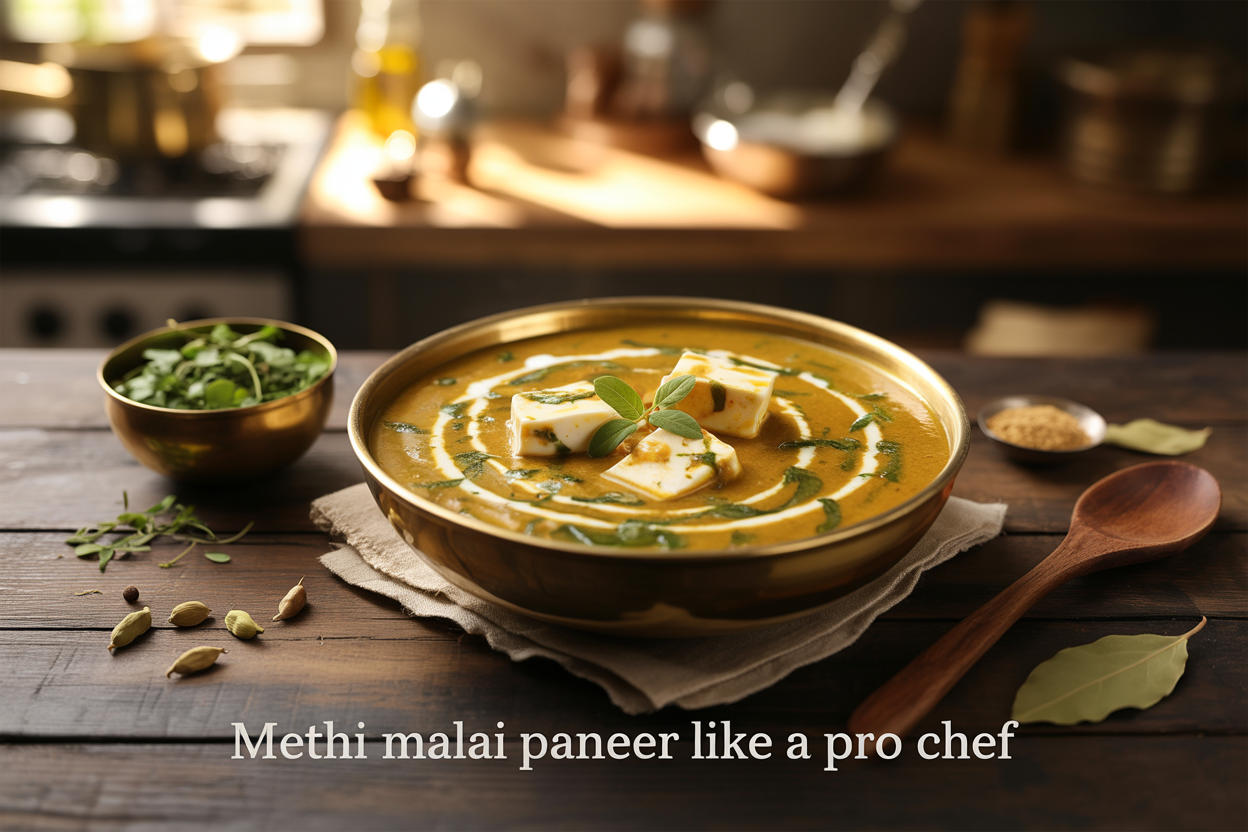
How to Make Methi Malai Paneer Like a Pro Chef
If you’ve ever ordered Methi Malai Paneer at a restaurant and thought, “I need to make this at home,” you’re in the right place. This guide is for home cooks who want to go beyond basic cooking and actually nail a restaurant-style Methi Malai Paneer recipe that tastes like it came straight out of a professional kitchen.
No guesswork, no vague steps — just a clear, easy Methi Malai Paneer step by step breakdown that works every single time.
Here’s what we’ll cover:
- The right ingredients — what makes an authentic Methi Malai Paneer rich, creamy, and slightly bitter in all the best ways
- The cooking process — how to build layers of flavor so your creamy paneer curry recipe doesn’t fall flat
- Pro tips — the small moves that separate a good curry from a great one
Let’s get into it.
Table of Contents
Essential Ingredients for Authentic Methi Malai Paneer
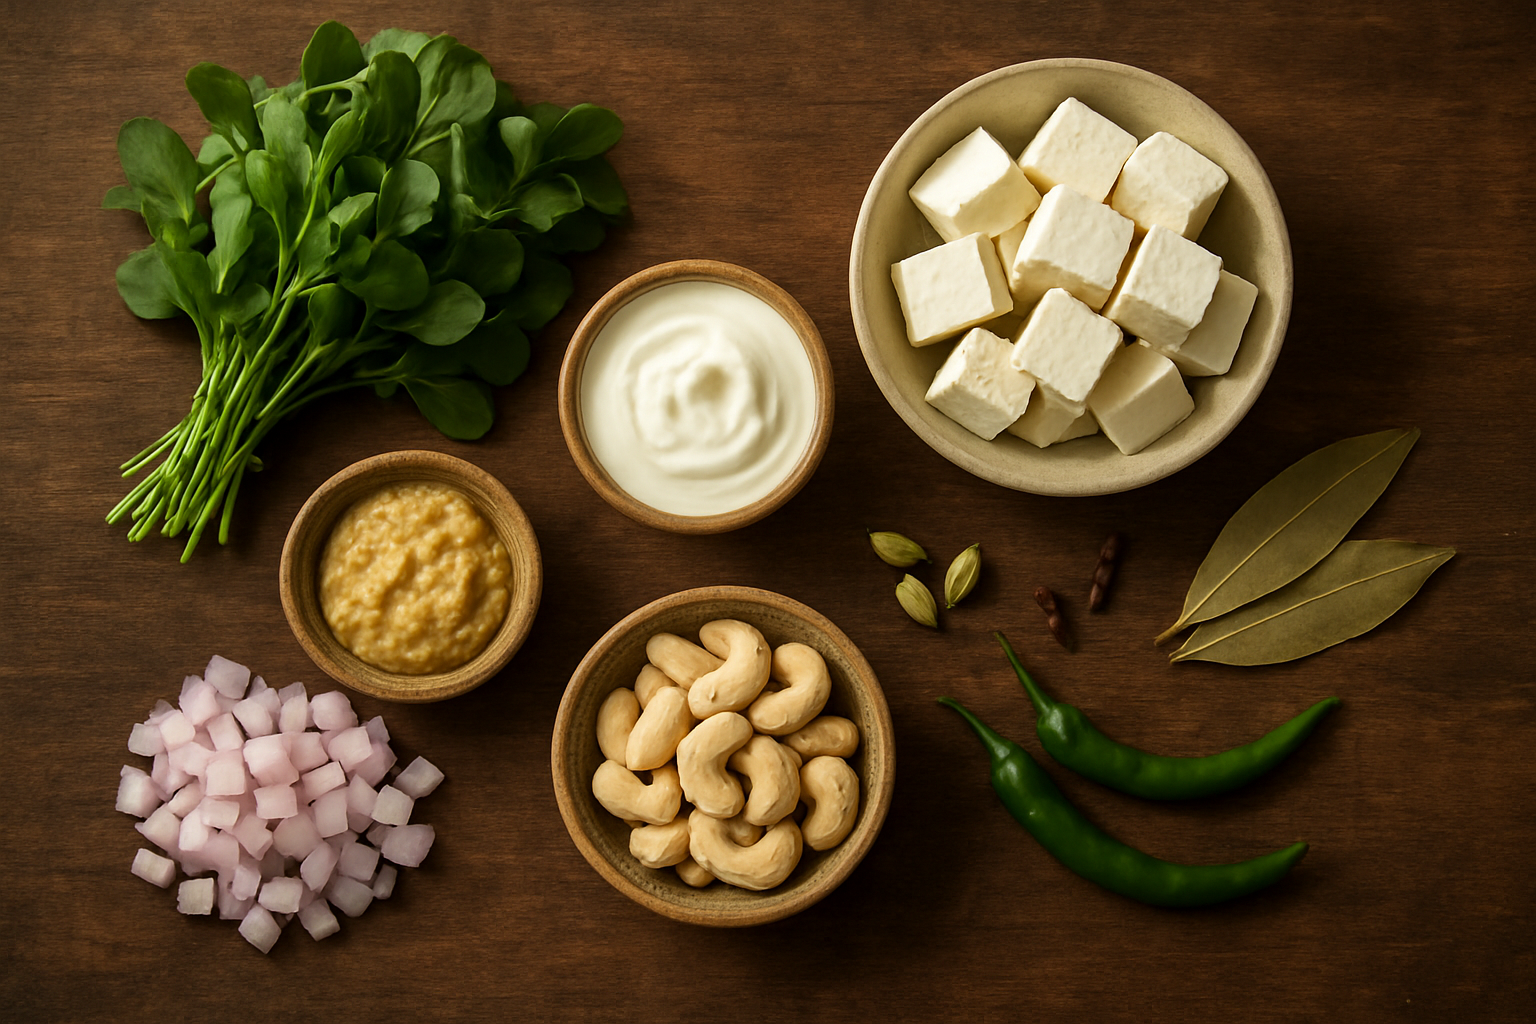
A. Fresh vs Dried Methi: Choosing the Right Option for Maximum Flavor
The heart of any authentic Methi Malai Paneer recipe is, without question, the methi (fenugreek). Getting this ingredient right can be the difference between a dish that tastes homemade and one that tastes like it came straight out of a restaurant kitchen.
Fresh Methi (Kasuri Methi Alternative)
Fresh methi leaves have a bold, slightly bitter flavor with a grassy aroma that fills your kitchen the moment they hit a hot pan. When you use fresh methi, you get a more vibrant color and a more pronounced fenugreek taste in your curry. This is the go-to choice when you want a dish that really punches through with that signature bitterness balanced by cream and spices.
- Best for: Bold, restaurant-style flavor
- Quantity to use: Roughly 1 to 1.5 cups of packed, washed, and chopped leaves for a serving of 4
- Watch out for: Over-bitterness — always blanch fresh methi leaves in salted boiling water for 2–3 minutes, then squeeze out the water before adding to the gravy
Dried Methi (Kasuri Methi)
Kasuri methi is sun-dried fenugreek and has a more concentrated, slightly smoky, and nutty flavor compared to fresh leaves. It’s more forgiving to work with and available year-round in any grocery store. Most chefs actually finish their Methi Malai Paneer with a generous crush of kasuri methi right at the end — this releases its oils and gives that unmistakable restaurant-quality aroma.
- Best for: Finishing the dish and layering flavors
- Quantity to use: 1 to 2 tablespoons, crushed between your palms before adding
- Watch out for: Using too much — dried methi is potent, and a heavy hand can make the dish overwhelmingly bitter
The Pro Move: Use Both
The smartest approach is combining both forms. Start with fresh methi during the cooking process for depth and body, then finish with crushed kasuri methi to add that fragrant, restaurant-style top note. This double-layered approach is what separates a good Methi Malai Paneer from a truly great one.
| Type | Flavor Profile | Best Used | Quantity (4 servings) |
|---|---|---|---|
| Fresh Methi | Bold, grassy, bitter | During cooking | 1–1.5 cups chopped |
| Kasuri Methi (Dried) | Smoky, nutty, concentrated | At the end of cooking | 1–2 tbsp crushed |
| Both Combined | Complex, layered, aromatic | Throughout the process | As above |
B. Selecting the Best Paneer for a Creamy, Firm Texture
Paneer is the star of this dish, so cutting corners here will show up immediately in the final result. A great creamy paneer curry recipe stands or falls on the quality and preparation of the paneer itself.
Homemade Paneer vs. Store-Bought
Homemade paneer is almost always the better choice. When you make paneer at home using full-fat whole milk and lemon juice or vinegar, you control the texture and moisture content entirely. Freshly made paneer is softer, creamier, and absorbs the gravy beautifully without turning rubbery.
That said, store-bought paneer works perfectly fine — as long as you treat it correctly before adding it to the dish.
How to Pick Good Store-Bought Paneer
- Look for paneer that is white or very slightly off-white — a yellowish tint means it’s older or made from low-quality milk
- It should feel firm but not hard when you press it — there should be a slight give
- Always check the expiry date and opt for brands that use full-fat milk
- Avoid paneer that smells sour or has any visible texture inconsistencies
The Non-Negotiable Prep Step
Whether homemade or store-bought, always soak your paneer cubes in warm salted water for at least 15–20 minutes before cooking. This simple step:
- Softens the paneer
- Prevents it from becoming chewy or rubbery in the gravy
- Helps it absorb the malai base more readily
Cut your paneer into 1-inch cubes — not too small, because small pieces tend to break apart and dissolve into the gravy, which means you lose that satisfying bite.
To Fry or Not to Fry?
Lightly pan-frying paneer in a little butter or ghee until it develops a golden crust on each side adds a lovely texture contrast. However, for Methi Malai Paneer specifically, skipping the fry and going straight to soaked, soft paneer works better because the dish is meant to be delicate and creamy, not heavy and textured. The choice is yours, but if you do fry, keep it light — just a minute or two per side.
C. Key Spices That Elevate the Dish to Restaurant Quality
The spice profile in a restaurant-style Methi Malai Paneer is intentionally subtle and well-balanced. Unlike richer curries packed with bold, heavy spices, this dish relies on a carefully chosen, minimal lineup that lets the methi and cream shine through.
The Core Spice List
- Cumin seeds — Used whole at the start to temper the oil, giving a warm, earthy base
- Bay leaves — 1 or 2 whole leaves add a quiet, slightly floral depth to the gravy
- Green cardamom — 2–3 pods lightly crushed; adds a gentle sweetness that complements the cream
- Cloves — Just 2 or 3; they bring warmth without overpowering
- Black peppercorns — 4–5 whole or a pinch of freshly cracked pepper for gentle heat
- Cinnamon stick — A small piece (about 1 inch) for warmth and sweetness
Powdered Spices to Use (With Care)
| Spice | Purpose | Quantity (4 servings) |
|---|---|---|
| Coriander powder | Earthy base flavor | 1 tsp |
| Cumin powder | Depth and warmth | ½ tsp |
| Turmeric | Color and mild earthiness | ¼ tsp |
| Garam masala | Finishing warmth and complexity | ½ tsp (added at the end) |
| White pepper powder | Gentle heat without altering the cream color | ¼ tsp |
| Sugar | Balances bitterness from methi | 1 small pinch |
What to Avoid
Skip red chili powder or go very light on it. The whole personality of this fenugreek paneer recipe is its pale, creamy, delicate appearance and flavor. Heavy red chili or aggressive spices will overpower the methi and destroy the malai’s richness. If you want heat, white pepper or a single green chili slit and added during tempering is the professional way to handle it.
The Ginger-Garlic Balance
Use a 1:1 ratio of ginger to garlic paste — about 1 teaspoon of each. In many creamy paneer curry recipes, garlic is used more generously, but for Methi Malai Paneer, equal parts keeps the flavor from leaning too pungent, allowing the methi to stay front and center.
Onion and Cashew Paste
Most restaurant kitchens build their malai base with a boiled onion and cashew paste. Boiling the onions first (rather than frying them to a deep brown) keeps the gravy pale and delicate. Adding 10–12 soaked cashews to the onion while blending creates the creamy, thick base without relying entirely on cream.
D. Cream and Milk Ratios for a Perfect Malai Base
The “malai” in Methi Malai Paneer isn’t just a flavor note — it’s the entire character of the dish. Getting the cream and milk ratio right is what gives you that silky, rich, restaurant-quality gravy without it feeling heavy or cloying.
Understanding the Role of Each Dairy Component
- Heavy cream (fresh cream): Adds richness, body, and a luxurious mouthfeel. This is what creates the signature velvety texture of the gravy.
- Full-fat milk: Thins out the gravy slightly and keeps it from being too dense. It also helps carry the spice flavors through the sauce more evenly.
- Malai (clotted cream or thick cream skimmed from milk): Traditional kitchens use this for an extra layer of richness. If you can get your hands on fresh malai, stir a tablespoon in at the very end off the heat for maximum impact.
The Ideal Ratio
For a perfectly balanced gravy that serves 4:
| Dairy Component | Quantity | Purpose |
|---|---|---|
| Fresh heavy cream (25–30% fat) | 4–5 tablespoons | Core richness and body |
| Full-fat whole milk | ½ cup | Balances consistency, prevents heaviness |
| Cashew-onion paste | ½ cup | Natural creaminess and thickening |
| Fresh malai (optional) | 1 tablespoon | Finishing richness and gloss |
When to Add the Cream
Timing is everything. Always add cream to the pan after reducing the heat to low. Adding cream to a high-heat, vigorously boiling gravy will cause it to split or curdle, leaving you with an oily, grainy mess instead of a smooth, creamy sauce.
The right sequence:
- Cook your gravy base on medium heat until fragrant and the oil starts to separate
- Add milk first and stir well
- Bring to a very gentle simmer
- Lower the heat completely, then stir in the cream slowly
- Add paneer and methi, and cook for just 3–4 more minutes on low
Avoiding a Gravy That’s Too Heavy
A common mistake in many Methi Malai Paneer recipes is using too much cream, which can make the dish feel greasy and overpowering. The cashew paste already adds natural creaminess, so think of fresh cream as a finishing element rather than a bulk ingredient. Four to five tablespoons is the sweet spot — enough to give you that gorgeous, glossy, restaurant-style malai base without the dish sitting heavy on your stomach.
If you’re cooking for health-conscious guests, you can substitute up to half the cream with full-fat Greek yogurt (whisked smooth and added off the heat), which keeps the creaminess while reducing the overall fat content without compromising too much on flavor.
Must-Have Kitchen Tools for a Professional Cooking Experience
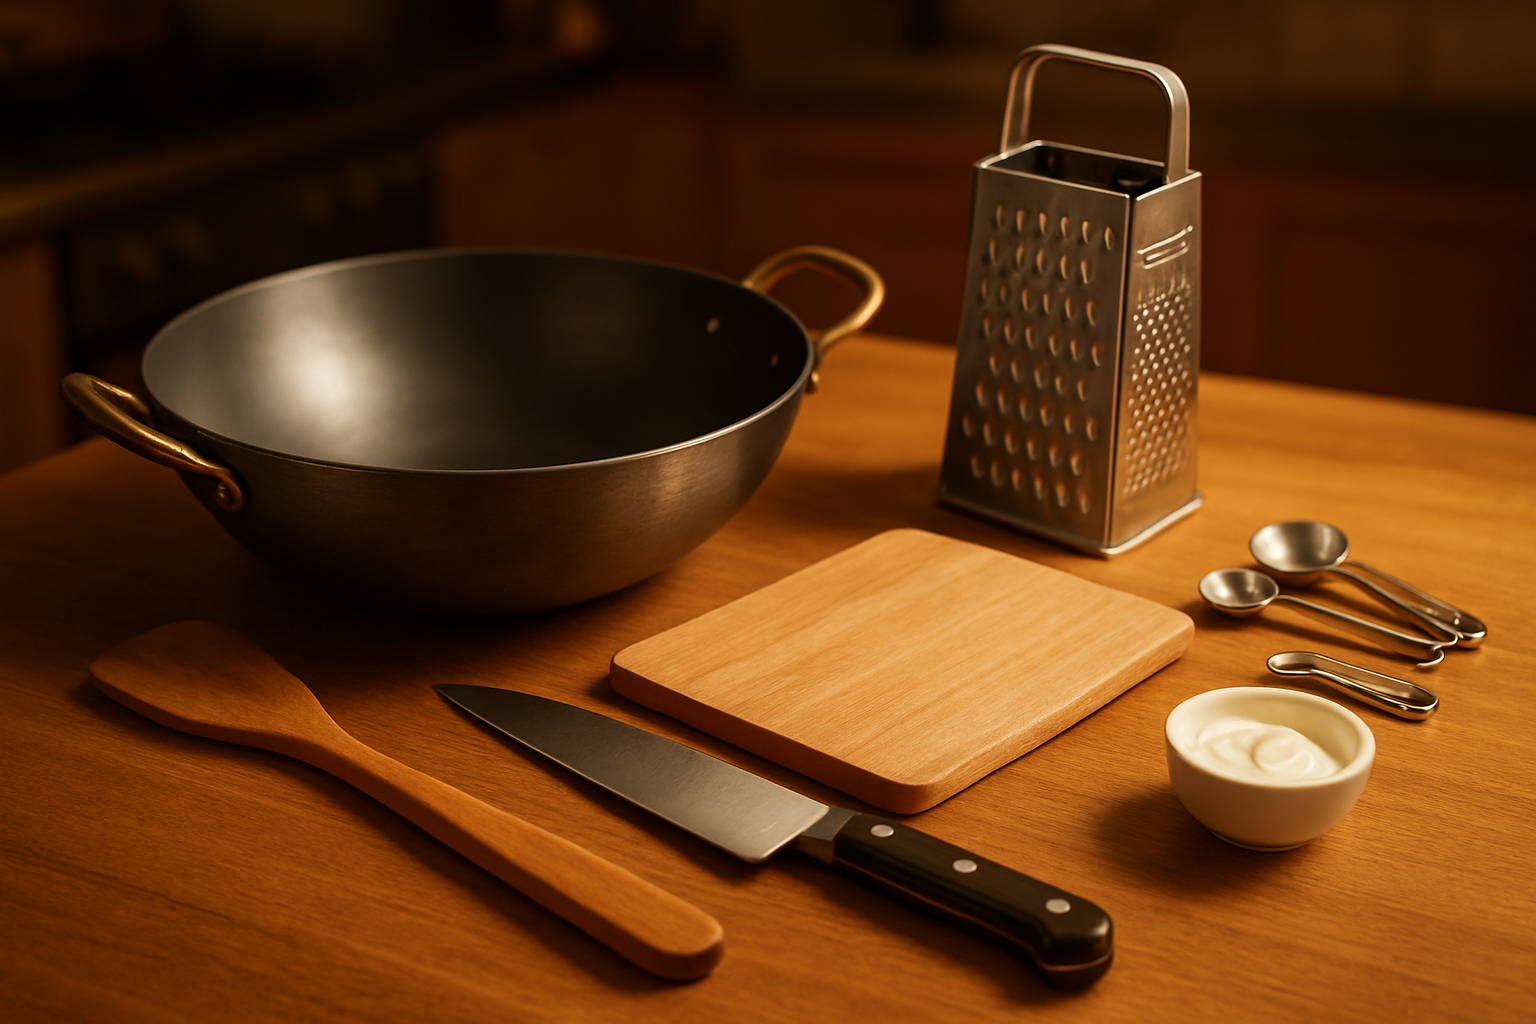
The Right Pan for Even Heat Distribution
Getting your pan right is honestly half the battle when making a restaurant-style Methi Malai Paneer. The wrong pan can burn your masala, create hot spots in the gravy, or leave you with unevenly cooked paneer — none of which you want.
Best Pan Options for Methi Malai Paneer
Here’s a quick breakdown of which pans work best and why:
| Pan Type | Why It Works | Best For |
|---|---|---|
| Heavy-bottomed kadai | Distributes heat evenly, prevents burning | Sautéing masala, simmering gravy |
| Cast iron skillet | Retains heat well, adds depth of flavor | Searing paneer before adding to gravy |
| Stainless steel sauté pan | Easy to monitor color changes in onions and spices | Whole cooking process |
| Non-stick pan | Easy cleanup, prevents sticking | Beginners or quick weeknight cooking |
For an authentic creamy paneer curry recipe, a heavy-bottomed kadai is your best friend. It keeps the heat consistent, which means your methi (fenugreek leaves) won’t scorch, and your malai (cream) won’t split when you add it in at the end.
Tips for Using Your Pan Like a Pro
- Preheat the pan properly before adding oil or ghee. A cold pan leads to uneven cooking.
- Keep the flame on medium when blooming your whole spices — high heat will burn them within seconds.
- Use a wide pan so your onions spread out and caramelize evenly rather than steaming each other.
- Don’t overcrowd the paneer when searing it. Give each piece its own space so it gets a nice golden crust instead of turning soggy.
A thick-bottomed pan also makes it much easier to slow-simmer the gravy, which is what gives this fenugreek paneer recipe its signature rich, velvety texture.
Blending Equipment for a Smooth, Silky Gravy
The gravy in a proper Methi Malai Paneer is supposed to be creamy, smooth, and almost luxurious in texture. Achieving that at home comes down to your blending game.
Immersion Blender vs. Countertop Blender vs. Food Processor
Each tool does the job a little differently. Here’s what you need to know:
| Equipment | Pros | Cons | Best Use Case |
|---|---|---|---|
| Countertop blender | Gives the smoothest result, handles hot liquids well | Requires transferring hot gravy | Best for a truly silky, restaurant-style finish |
| Immersion (hand) blender | Blends directly in the pan, less cleanup | May leave slightly more texture | Great for everyday cooking and convenience |
| Food processor | Good for roughly blending onion-tomato paste before cooking | Not ideal for final gravy blending | Pre-cooking prep work |
For a proper easy Methi Malai Paneer step by step approach, blend your onion, cashew, and tomato base before adding the cream and paneer. This is the key step most home cooks skip, and it’s what separates a grainy curry from a genuinely smooth one.
Pro Blending Techniques
- Cool your base slightly before blending if you’re using a countertop blender. Blending piping hot liquids can cause pressure buildup and make a real mess.
- Blend in batches if you have a large quantity — overfilling a blender leads to uneven texture.
- Strain through a fine mesh sieve after blending if you want that ultra-refined, restaurant-style Methi Malai Paneer texture. This step is optional but makes a visible difference.
- Soak cashews in warm water for 20 minutes before blending. They blend far more smoothly this way and contribute to that signature creaminess without needing excess cream.
- Pulse, don’t just run the blender continuously. Starting on low and working up to high gives you better control over the final texture.
Additional Tools Worth Having Nearby
- Fine mesh strainer — for straining the blended gravy if you want an extra-smooth finish
- Wooden spoon or silicone spatula — for stirring without scratching your pan
- Small ladle — helpful when transferring hot gravy to the blender safely
- Mortar and pestle — for freshly grinding whole spices like cardamom and peppercorns, which adds a depth of flavor you simply can’t get from pre-ground powders
When your blending equipment is on point, the entire texture of your Indian paneer recipe transforms. That silky, coating-the-back-of-a-spoon consistency is totally achievable at home — it just needs the right tools and a little attention to technique.
Prepping Ingredients Like a Pro Chef
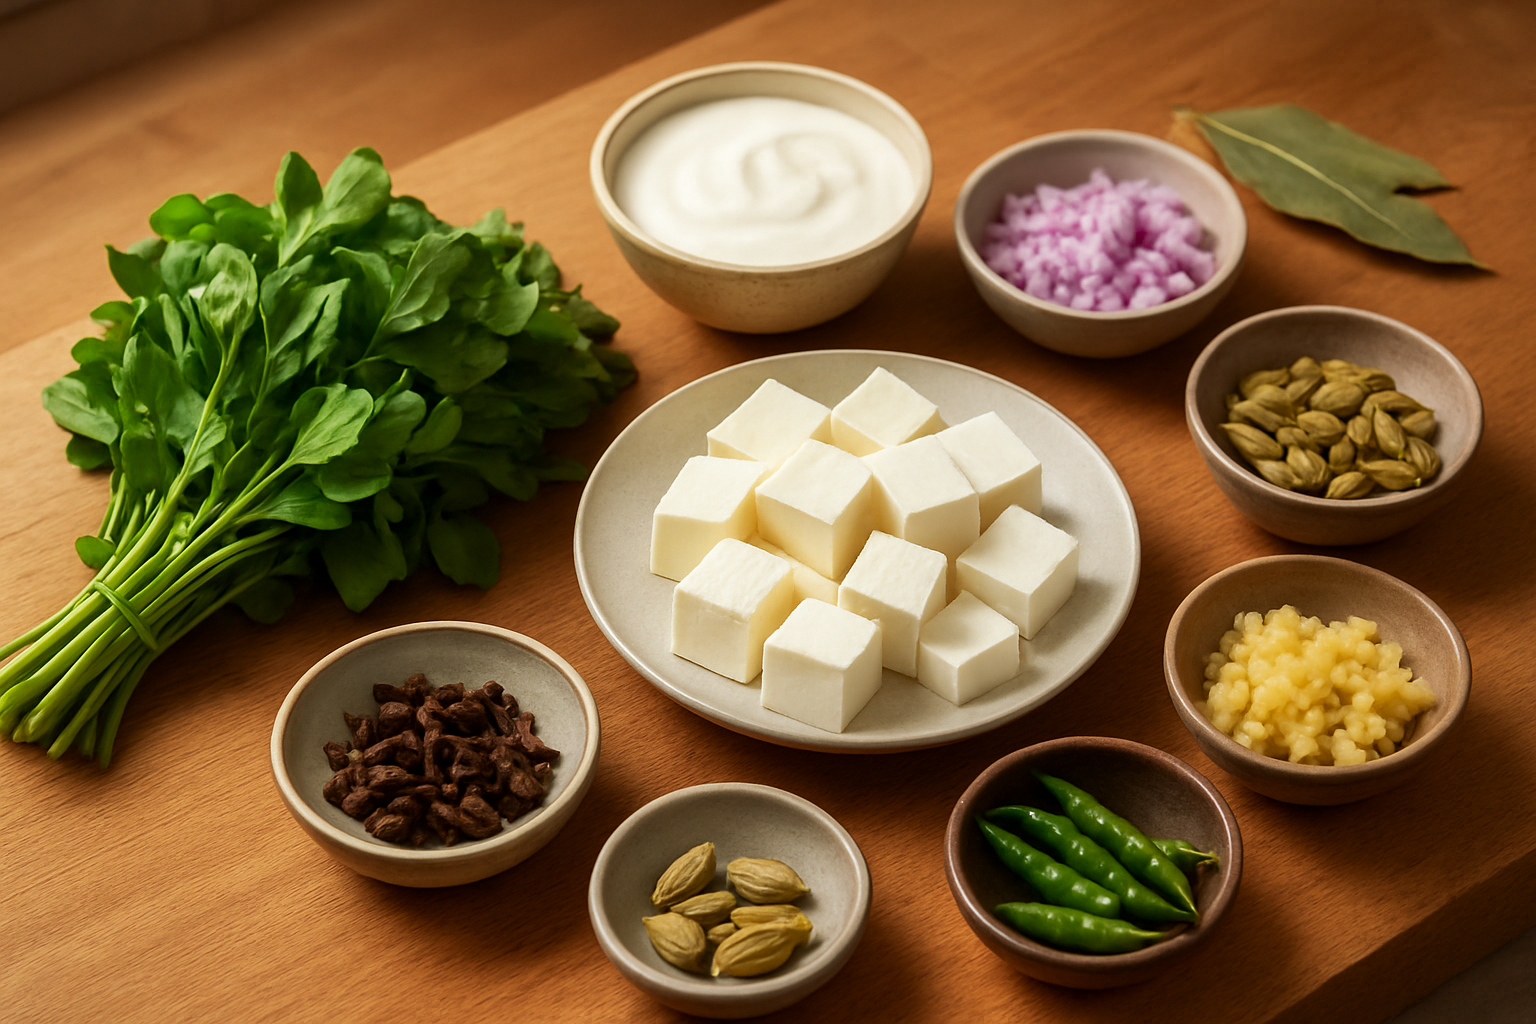
Removing Bitterness from Methi Leaves the Smart Way
Fresh methi (fenugreek) leaves are the soul of this dish, but their natural bitterness can easily overpower the creamy, delicate flavors if you skip this step. The good news? Getting rid of that excess bitterness takes just a few minutes and makes a massive difference in your final dish.
Here’s exactly how to do it:
- Salt method: Once you’ve picked the methi leaves off the stems and given them a good wash, sprinkle about 1 teaspoon of salt over them. Toss well and let them sit for 10–15 minutes. The salt draws out the bitter juices from the leaves.
- Squeeze and rinse: After resting, gently squeeze the leaves with your hands — you’ll actually see dark green liquid come out. Rinse them once under cold water and squeeze again. Done.
- Optional blanching: If you’re using particularly bitter methi or dried kasuri methi, a quick 30-second blanch in hot water followed by a cold water rinse works wonders.
How Much Bitterness Should You Remove?
This depends on your personal taste. For a restaurant-style Methi Malai Paneer, you want the methi flavor to come through as a subtle, earthy backdrop — not front and center. Removing about 70–80% of the bitterness hits that sweet spot perfectly.
Quick Tip: If fresh methi isn’t available, kasuri methi (dried fenugreek leaves) is your next best option. Use about 2–3 tablespoons, crush it between your palms before adding — this releases the essential oils and boosts the aroma significantly.
Marinating Paneer for Deeper Flavor Absorption
Most home cooks skip paneer marination entirely and wonder why their curry tastes flat. Here’s the thing — paneer is a blank canvas. It doesn’t bring flavor on its own; it absorbs the flavors around it. A short marinade changes everything.
The Best Marinade for Methi Malai Paneer
| Ingredient | Quantity | Purpose |
|---|---|---|
| Fresh cream or thick yogurt | 2 tablespoons | Keeps paneer soft and moist |
| Salt | ¼ teaspoon | Baseline seasoning |
| Turmeric powder | A pinch | Color and mild warmth |
| White pepper powder | ¼ teaspoon | Gentle heat without color |
| Ginger-garlic paste | ½ teaspoon | Aroma and depth |
| Cardamom powder | A pinch | Subtle floral note |
Mix all the marinade ingredients together, coat the paneer cubes well, and let them rest for at least 20–30 minutes. If you have time, even an hour in the fridge does wonders.
Fresh vs. Store-Bought Paneer
- Fresh homemade paneer absorbs marinades faster because it’s softer and more porous. Cut into cubes only after it has firmed up in the fridge.
- Store-bought paneer tends to be denser. Soak the cubes in warm water for 10 minutes before marinating — this softens them and opens up the texture so the marinade actually gets in.
To Fry or Not to Fry?
For an authentic Methi Malai Paneer recipe, lightly pan-frying the marinated paneer in a teaspoon of butter or ghee before adding it to the gravy adds a gorgeous golden crust and seals in all that marinade flavor. Keep the heat on medium-high and don’t overcrowd the pan. Flip once — that’s it. You’re not making bhurji here.
If you prefer soft, pillowy paneer throughout, skip the frying and add the marinated cubes directly to the simmering gravy in the final stages.
Making a Rich Cashew and Onion Paste for a Creamy Base
The cashew-onion paste is what gives restaurant-style Methi Malai Paneer its luxuriously thick, velvety body. This is the step that separates a good curry from a great one.
Ingredients for the Paste
- Raw cashews — 15 to 20 pieces, soaked in warm water for 20–30 minutes
- Onion — 1 large, roughly chopped
- Green chili — 1 (optional, for mild heat)
- Garlic cloves — 3 to 4
- Ginger — 1-inch piece
Step-by-Step Process
- Sauté the onion: Heat a teaspoon of oil or ghee in a pan. Add the chopped onion and cook on medium heat until it turns soft and just starts to turn light golden. You don’t want it deeply browned — that will darken your gravy and change the flavor profile from mild-creamy to sharp.
- Add garlic and ginger: Toss them in during the last 2 minutes of cooking the onion. Cook until the raw smell disappears.
- Add soaked cashews: Drain the cashews and add them to the pan. Stir everything together for another minute.
- Cool completely: This is a step people rush and regret. Hot ingredients in a blender can cause steam pressure build-up and result in a grainy paste. Let everything cool down to room temperature.
- Blend smooth: Add the cooled mixture to a blender with 3–4 tablespoons of water. Blend on high for at least 1–2 minutes until you get a completely smooth, lump-free paste. For an extra-silky texture, strain through a fine mesh sieve.
Pro Tips for a Silkier Paste
- Soaking cashews longer (up to an hour) makes them blend more smoothly, especially if you’re using a standard blender rather than a high-powered one.
- Adding a tablespoon of fresh cream while blending takes the richness up another notch.
- White onions give a milder, sweeter taste compared to red onions, making them a better choice for this creamy paneer curry recipe.
Roasting and Grinding Fresh Spices for Bold Aroma
Pre-ground spices from a packet are convenient, but nothing comes close to freshly roasted and ground spices when it comes to aroma and depth. For an authentic Methi Malai Paneer, the spice profile leans toward warm, gentle, and aromatic rather than hot and punchy — so getting the spice blend right is crucial.
Spices to Roast for Methi Malai Paneer
| Spice | Quantity | Flavor Contribution |
|---|---|---|
| Green cardamom | 4–5 pods | Floral, sweet warmth |
| Black peppercorns | ½ teaspoon | Gentle heat |
| Cloves | 3–4 | Intense, warming aroma |
| Cinnamon | 1-inch piece | Mild sweetness and depth |
| Coriander seeds | 1 teaspoon | Earthy, citrusy base note |
| Fennel seeds | ½ teaspoon | Subtle sweetness |
| Mace (javitri) | A small piece | Complex, nutmeg-like warmth |
How to Roast Spices Correctly
- Use a dry, heavy-bottomed pan — cast iron or stainless steel works best.
- Keep the flame on low to medium-low. High heat scorches spices in seconds, turning them bitter.
- Add the harder, denser spices first (cinnamon, cloves, cardamom) and the lighter ones (fennel, coriander) a minute later.
- Stir constantly — you’re not leaving the stove for this. The whole process takes 2–3 minutes.
- Watch for the visual and smell cues: the spices will darken very slightly and you’ll smell a beautiful toasty aroma rising. That’s your signal to take the pan off the heat immediately.
- Spread them on a plate to cool — leaving them in the hot pan continues cooking them even off the flame.
Grinding to the Right Texture
Once completely cool, transfer the roasted spices to a spice grinder or mortar and pestle. For this recipe, a fine powder gives the best results, blending seamlessly into the creamy gravy without any gritty texture.
- Grind in short bursts to avoid the heat from the grinder affecting the essential oils.
- If using a mortar and pestle, crack the cardamom pods and remove the seeds before grinding — the green outer shell adds a slightly bitter note you don’t want.
- Store any leftover freshly ground spice blend in an airtight container away from light. It keeps well for up to 2 weeks, though the aroma is best in the first 3–4 days.
What About Store-Bought Garam Masala?
You can use it as a shortcut, but for a truly pro-level, restaurant-style Methi Malai Paneer, freshly roasted spices make a noticeable difference that anyone eating the dish will pick up on — even if they can’t explain exactly what makes it taste so much better.
Step-by-Step Cooking Process for a Flawless Result
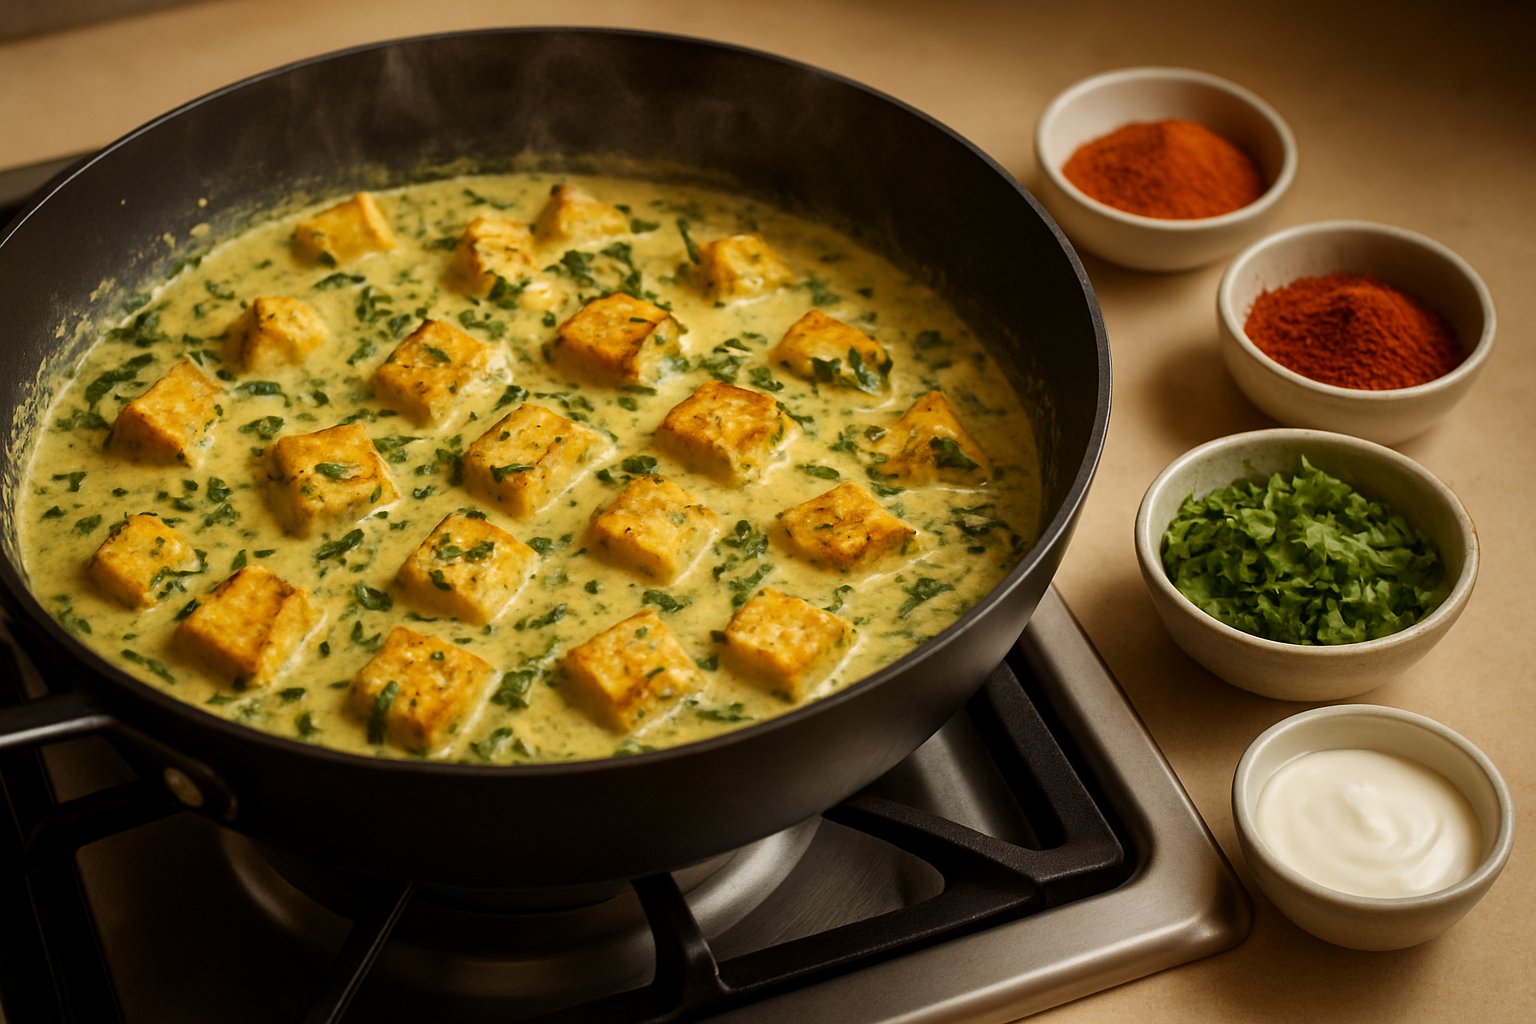
Building a Flavorful Gravy Base with Perfect Consistency
The gravy is the soul of your Methi Malai Paneer recipe, and getting it right from the very beginning makes all the difference between a dish that tastes homemade and one that tastes like it came straight out of a restaurant kitchen.
Start by heating 2 tablespoons of ghee or neutral oil in a heavy-bottomed pan over medium heat. Once the ghee shimmers, toss in:
- 1 bay leaf
- 2–3 green cardamoms
- 1 small cinnamon stick
- 3–4 cloves
Give these whole spices about 30–40 seconds to bloom. You will hear a gentle sizzle and smell that warm, toasty aroma — that is your cue to move forward.
Now add finely chopped or grated onions (about 2 medium onions). The key here is patience. Cook the onions on medium-low heat until they turn a soft, pale golden color — not brown. This light caramelization gives your gravy a gentle sweetness without overpowering the delicate fenugreek flavor you are building toward.
Next, add a tablespoon of ginger-garlic paste. Sauté it until the raw smell disappears, which usually takes about 2 minutes. Then stir in:
- 2 medium tomatoes (pureed or finely chopped)
- ½ teaspoon white pepper or black pepper
- ½ teaspoon cumin powder
- Salt to taste
Cook this mixture until the tomatoes are completely broken down and the oil starts to separate from the masala. This step is non-negotiable — an under-cooked masala base will make your gravy taste raw and heavy.
For the creamy base that defines this dish, lower the heat and stir in:
- ½ cup cashew paste (soak cashews in warm water for 20 minutes, then blend smooth)
- ½ cup fresh cream or malai
Stir continuously on low heat to prevent the cream from splitting. Add ½ cup of water or milk gradually to reach a smooth, flowing consistency — not too thick, not too runny. Think of it as a gravy that coats the back of a spoon gently.
Balancing Bitterness, Creaminess, and Spice Like a Chef
This is honestly the trickiest part of making an authentic Methi Malai Paneer, and it is where most home cooks either overcorrect or give up entirely. The fenugreek (methi) brings a slightly bitter edge that is the whole point of the dish — but you want it to be a pleasant bitterness, not an overpowering one.
Taming the Bitterness of Methi
Whether you are using fresh methi leaves or kasuri methi (dried fenugreek), here is how to handle the bitterness like a pro:
- Fresh methi leaves: After washing, sprinkle a pinch of salt over the leaves, mix well, and let them sit for 10–15 minutes. Then squeeze out the excess water. This simple trick draws out a lot of the harsh bitter compounds.
- Kasuri methi: Always dry roast it in a pan for 30–40 seconds before adding it to your gravy, or rub it between your palms to release its oils right before adding. This deepens the flavor and softens the bitterness.
If using fresh methi, add it to the pan right after the onion-tomato base is ready. Sauté the leaves for 3–4 minutes until they wilt completely and darken slightly. This cooking process mellows the bitterness beautifully.
Dialing In the Creaminess
The creaminess in this dish comes from a combination of:
| Ingredient | Role |
|---|---|
| Cashew paste | Adds body, richness, and a neutral creaminess |
| Fresh cream or malai | Adds silky texture and mild dairy sweetness |
| Milk (optional) | Thins the gravy without reducing richness |
| Butter (finishing) | Adds a glossy, restaurant-style sheen |
Do not add all the cream at once. Start with half, taste, and adjust. If the gravy feels too heavy, a splash of milk loosens it up without thinning the flavor.
Getting the Spice Balance Right
This is a mildly spiced, creamy curry — so keep your heat profile gentle. The spice blend that works best:
- ½ teaspoon garam masala (added near the end only)
- ½ teaspoon white pepper (earthy heat without sharpness)
- 1 teaspoon coriander powder
- A pinch of sugar to balance bitterness and acidity
Skip red chili powder entirely or use it sparingly. The color in this dish comes from the cream and methi, not from chili heat. A tiny pinch of turmeric is optional — some chefs skip it altogether to keep the gravy a pale ivory-green color that looks distinctly restaurant-style.
Adding Paneer at the Right Time to Keep It Soft and Fresh
Timing is everything when it comes to paneer. Add it too early and it turns rubbery. Skip a key step and it falls apart in the gravy. Here is how to handle it properly in this easy Methi Malai Paneer step-by-step process.
Should You Fry or Not?
This depends on the texture you prefer:
- Lightly pan-fried paneer: Cut into cubes and shallow fry in a teaspoon of ghee until just golden on two sides. This creates a slight crust that holds up in the gravy and gives a mild toasted flavor.
- Soaked fresh paneer: Skip the frying and soak paneer cubes in warm salted water for 10 minutes before adding to the gravy. This keeps the paneer incredibly soft, pillowy, and fresh-tasting — which is the preferred method for a restaurant-style Methi Malai Paneer.
When Exactly to Add It
Once your gravy is fully cooked, tasted, and at the right consistency:
- Lower the heat to the lowest setting.
- Gently slide the paneer cubes into the gravy.
- Stir very gently with a flat spatula — do not use circular stirring motions that break the cubes.
- Let the paneer simmer in the gravy for no more than 4–5 minutes.
That is genuinely all it needs. Paneer does not need to be cooked — it just needs to absorb the flavors of the gravy around it. Any longer than 5 minutes on heat and you are headed toward rubbery territory.
Temperature Tip
If you are using paneer straight from the refrigerator, let it sit at room temperature for at least 15–20 minutes before adding it to a hot gravy. A cold cube hitting a very hot gravy can seize up and toughen quickly.
Finishing Touches That Add a Restaurant-Style Depth
The difference between a good homemade paneer curry and a restaurant-style Methi Malai Paneer often comes down to what happens in the last 2 minutes of cooking. These final steps are what professional chefs call “finishing” — and they are easy to replicate at home.
The Butter Swirl
Take the pan off direct heat and add a tablespoon of cold butter — not melted, cold — and swirl it into the gravy. This technique, borrowed from classical French cooking and used widely in Indian restaurant kitchens, adds a silky gloss and rounds out the flavors beautifully. It also gives the gravy that rich, luxurious texture you always notice in restaurant dishes.
Kasuri Methi Finishing
Even if you used fresh methi leaves during cooking, add a final pinch of lightly crushed kasuri methi right at the end. It layers in a fresh, aromatic hit of fenugreek that elevates the dish significantly. Think of it the same way a chef finishes a pasta with fresh herbs — it is about fragrance and freshness on top of depth.
Cream Drizzle
Right before serving, drizzle a tablespoon of fresh cream in a circular pattern on top of the gravy. Do not stir it in. This is purely visual, but it signals richness and care — and it photographs beautifully if you are serving guests.
Adjusting the Final Consistency
If your gravy has thickened too much while resting, add a small splash of warm milk or water and stir gently over low heat. Never add cold liquid to a hot gravy — it creates uneven texture and can cause cream-based gravies to curdle.
Final Seasoning Check
Always taste after finishing. A tiny pinch of sugar, a squeeze of fresh lemon juice, or an extra small pinch of garam masala can completely change how the dish lands on the palate. This last-minute tasting step is something every pro chef does without exception — it is the simplest habit that makes the biggest difference in a fenugreek paneer recipe.
Pro Tips and Tricks to Perfect Your Recipe Every Time
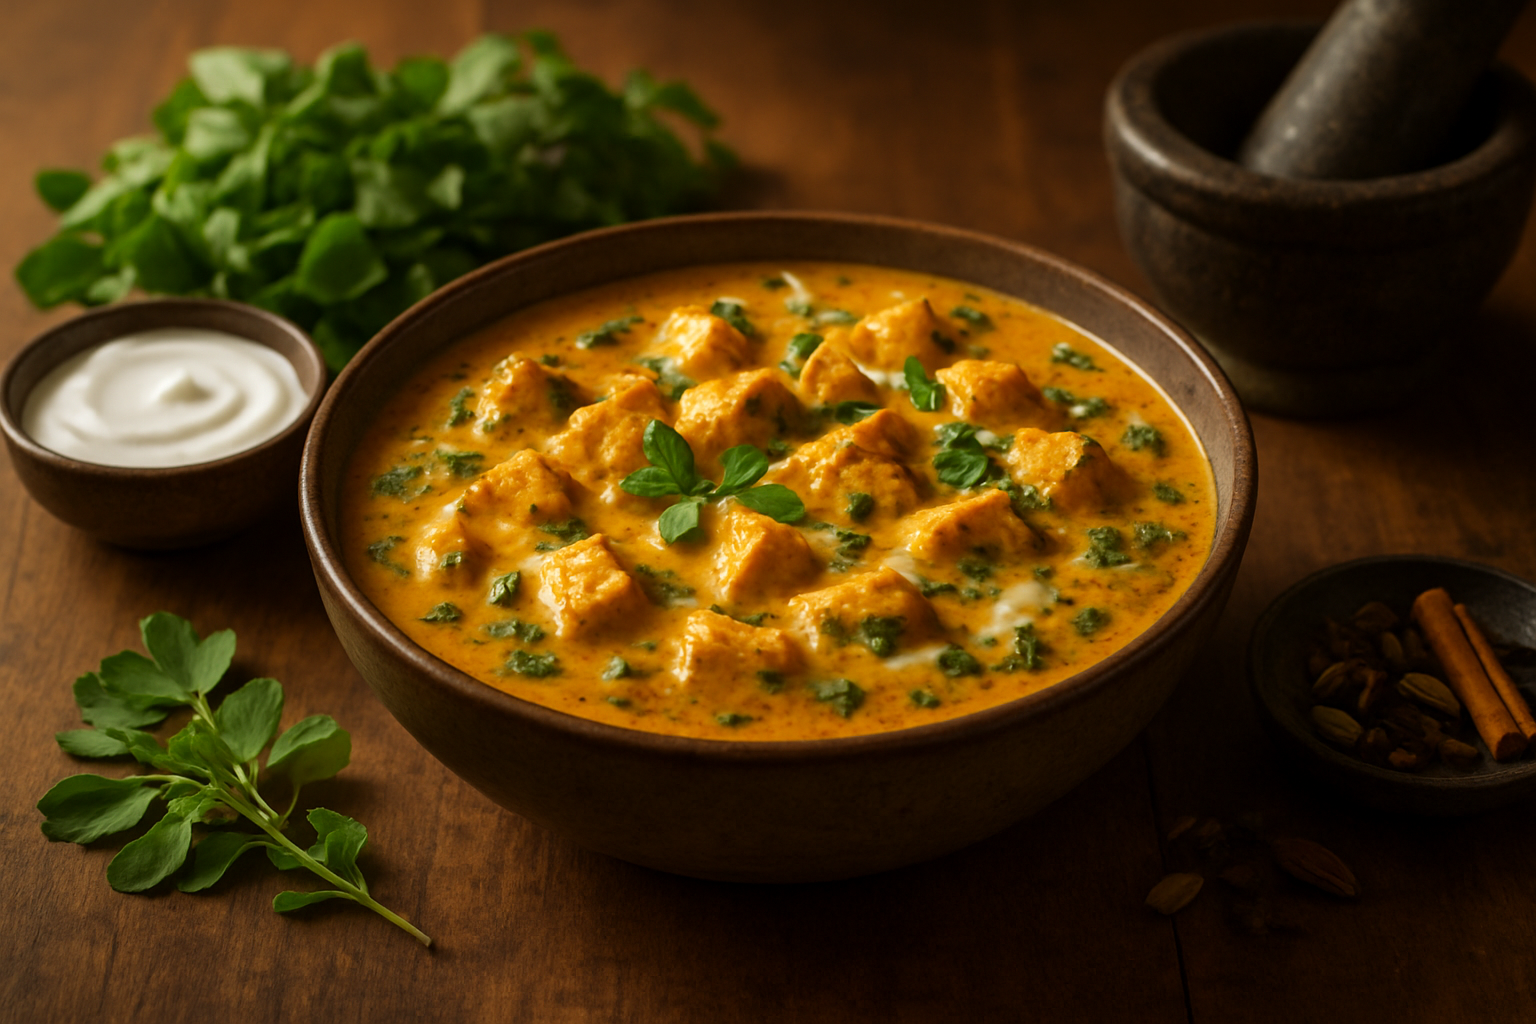
Avoiding Common Mistakes That Ruin the Gravy
Getting your Methi Malai Paneer recipe right often comes down to dodging a handful of mistakes that even experienced home cooks make repeatedly. Here’s what to watch out for:
- Burning the fenugreek leaves: Methi burns fast. Once you add fresh or dried fenugreek to hot oil, keep the flame on medium and stir constantly. Burnt methi turns the entire gravy bitter, and there’s no coming back from that. If you’re using kasuri methi (dried fenugreek), crush it between your palms before adding — this releases the oils and gives you a deeper, more rounded flavor without the harshness.
- Rushing the onion-cashew paste: The base of a restaurant-style Methi Malai Paneer depends on a smooth, well-cooked paste. Undercooked onions leave a raw, sharp taste that clashes with the creaminess. Cook them until they’re completely soft and pale golden before blending.
- Adding cream at the wrong temperature: Never pour cold cream directly into a hot, bubbling gravy. It splits and curdles instantly. Take the pan off the heat for 30 seconds, lower the flame, then slowly stir in the cream. Room temperature cream blends in like a dream.
- Overcooking the paneer: Paneer goes rubbery the second it’s overcooked. Add it in the last 4–5 minutes of cooking, just enough time for it to soak up the flavors. If you’re using store-bought paneer, soak the cubes in warm water for 10 minutes before adding them — this keeps them soft and spongy.
- Too much water in the gravy: A thin, watery gravy loses that silky, coating texture that makes this dish so satisfying. Go easy with water and let the paste, cream, and yogurt do the heavy lifting for consistency.
Adjusting the Richness Without Overpowering the Methi Flavor
The beauty of a great creamy paneer curry recipe is in the balance — rich enough to feel indulgent, but not so heavy that it buries the delicate bitterness of the fenugreek. Here’s how to nail that balance every single time:
Finding Your Cream-to-Yogurt Ratio
| Preference | Cream | Yogurt | Result |
|---|---|---|---|
| Light & tangy | 2 tbsp | 3 tbsp | Fresher, less heavy, slight tang |
| Balanced & creamy | 3 tbsp | 2 tbsp | Restaurant-style richness |
| Ultra-rich | 4–5 tbsp | 1 tbsp | Indulgent, close to pure malai finish |
| Dairy-free option | Cashew cream | Coconut yogurt | Nutty, slightly sweet profile |
Adjust these ratios based on how rich you want the final dish. The goal is for the methi flavor to still shine through — it shouldn’t taste like a plain cream sauce with a hint of green.
Tips to Keep the Methi Flavor Front and Center
- Use both fresh methi AND kasuri methi if you can get your hands on them. Fresh methi gives grassy, slightly bitter depth upfront, while kasuri methi adds a smoky, aromatic finish at the end. Together, they create a flavor that’s layered and complex — exactly what separates a homemade dish from a proper fenugreek paneer recipe.
- Add kasuri methi at the very end of cooking, not in the beginning. Heat destroys its fragrance quickly, so a late addition means maximum aroma hitting the plate.
- Balance bitterness with a pinch of sugar. If the methi is tasting too sharp, add just a tiny pinch — not enough to make the gravy sweet, but enough to round out the edges. This is a trick used in many Indian restaurant kitchens.
- Don’t overload with spices. This dish needs restraint. Too many bold spices like garam masala or red chili powder will bury the methi completely. Keep the spice profile clean — white pepper, cardamom, and a touch of garam masala work beautifully without competing.
- Use fresh ginger paste, not powder. Fresh ginger has a brightness that actually complements methi’s bitterness, while ginger powder tends to flatten the flavor profile.
Storing and Reheating Without Losing Taste or Texture
One of the best things about authentic Methi Malai Paneer is that it actually tastes even better the next day — but only if you store and reheat it correctly. Done wrong, and you end up with rubbery paneer swimming in a broken, oily gravy.
How to Store It Properly
- Refrigerator: Transfer the curry to an airtight container once it’s cooled down to room temperature. Don’t store it hot — the condensation makes the gravy watery. It stays fresh in the fridge for up to 3 days.
- Freezer: If you want to meal prep, freeze the gravy without the paneer. Paneer doesn’t freeze well — it becomes grainy and tough when thawed. Cook fresh paneer cubes and add them when you reheat the stored gravy. Frozen gravy stays good for up to 1 month.
- Storing methi and gravy separately: If you’ve made a large batch, consider storing a portion without the fenugreek leaves mixed in. Add fresh kasuri methi while reheating to keep that signature aroma alive.
The Right Way to Reheat
- Stovetop method (best option): Place the gravy in a pan on low-medium heat. Add a splash of water or a tablespoon of fresh cream to loosen it up — the gravy thickens significantly after refrigeration. Stir gently and heat until just warmed through. Don’t let it boil hard; that’s what makes paneer tough.
- Microwave method: Use a microwave-safe dish and cover it with a damp paper towel to prevent splattering and keep moisture in. Heat in 30-second intervals, stirring in between, until evenly warm. This is quicker but needs more attention to avoid hot spots that can toughen the paneer.
- Reviving the flavor after storage: Reheated curries sometimes taste flat. A quick fix — crush a small pinch of kasuri methi between your fingers and stir it in while reheating. It instantly wakes the dish back up. A tiny drizzle of fresh cream right before serving also brings back that silky texture.
Quick Storage Reference
| Storage Method | Duration | Notes |
|---|---|---|
| Airtight container – fridge | Up to 3 days | Cool completely before storing |
| Freezer (gravy only) | Up to 1 month | Add fresh paneer when reheating |
| Room temperature | Max 2 hours | Do not leave out longer |
| Pre-portioned meal prep | 3–4 days (fridge) | Store with extra cream on the side |
Following these steps means your easy Methi Malai Paneer step by step effort never goes to waste — and leftovers feel just as satisfying as when you first made the dish.
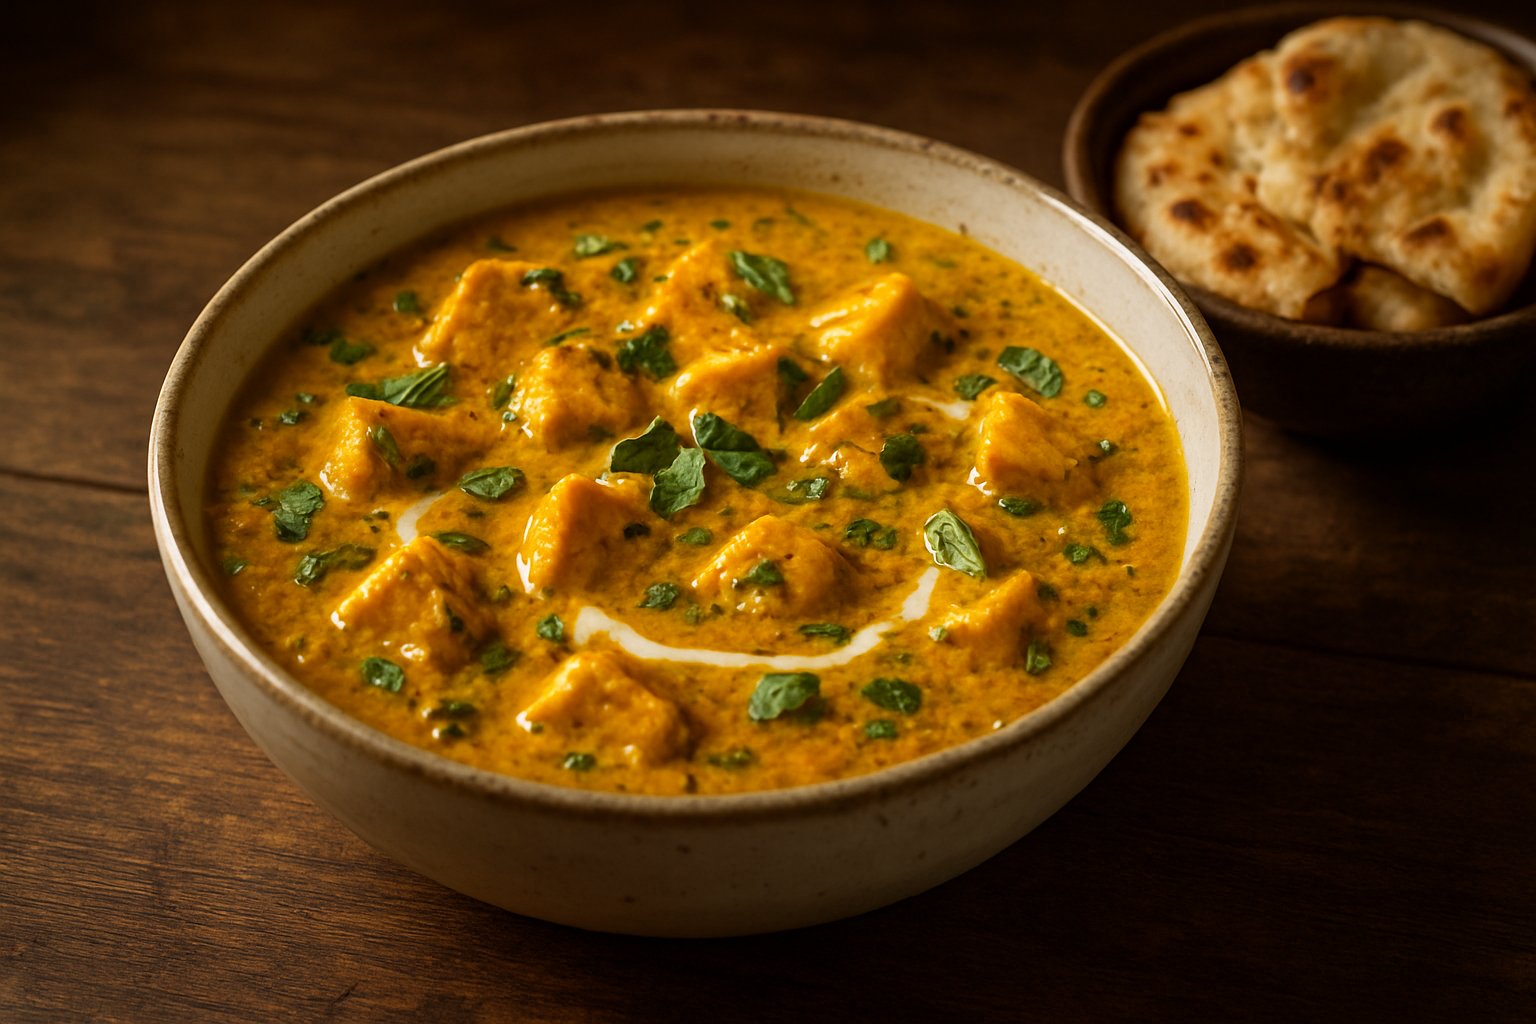
Making Methi Malai Paneer at home is totally doable when you have the right ingredients, tools, and a little patience. From picking fresh methi leaves to getting that perfectly balanced creamy sauce, every step plays a role in bringing this dish together. The pro tips and tricks shared throughout this guide are what really take it from a simple home-cooked meal to something that feels restaurant-worthy.
Now it’s your turn to get into the kitchen and give it a shot! Don’t be afraid to adjust the spices to your taste or experiment a little as you go. The more you make it, the better it gets. Share it with family or friends, and don’t be surprised when everyone asks for seconds.